
|
Do it yourself
| |||
| ||||


Installation of AUX IN Adapter
Model: Mini Mini
R52, R50, R53
- Years 2001-2007
First, detach the knee trim from the driver's side to access the fixing screws of the side trims of the centre tunnel: then unscrew the two screws and remove the trim; repeat the same operation on the other side by opening the glove compartment. At this point, unscrew the fixing screws of the radio and extract it from its seat, disconnecting the plugs connected to it. Connect one plug of the adapter wiring kit to the original wiring plug and the other to the radio. Refit the radio in its seat, ensuring that the wiring is properly accommodated and pass the Aux output cable through the grille at the bottom of the centre tunnel. Finally, perform a functionality check of the kit.
Updated on 4 February 2026 by ScegliAuto
Video tutorial
Related tutorials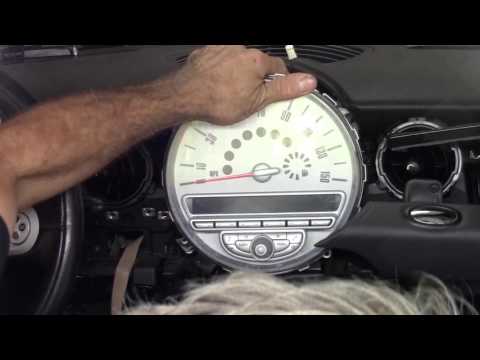
Mini
(2001-2007 /
R52, R50, R53)
We replace the radio of the Mini Cooper if it is damaged or if it is worn out. Let's see the disassembly of the radio. We disassemble the plastics on…

Mini
(2014-2023 /
F57, F56, F55, F54)
In this video, we see how to install a wireless charger on a Mini F series: we start by removing the body around the cigarette lighter, using a plast…
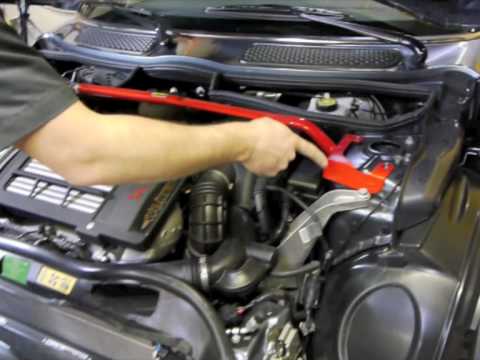
Mini
(2001-2007 /
R52, R50, R53)
Installing the anti-roll bar is very simple: it should be applied to the supports of the front shock absorbers. Once you open the front bonnet, remov…
Other guides you may be interested in
|
How to Replace the Engine Air Filter on a Volkswagen Polo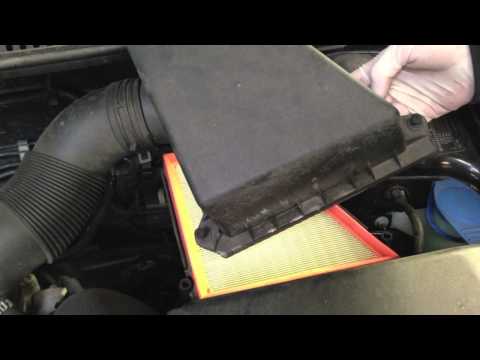
Remove the engine air filter from a Volkswagen Polo: open the car door, pull up the engine compartment release lever located at the bottom left of the dashboard and lift the front bonnet, securing it with the prop rod. Remove the engine soundproofing panel (if necessary), then open the air box (unscrew the securing screws), remove the cover of the filter box and take out the engine air filter. Insert a new filter into the dedicated housing (ensuring it fits snugly around the edges). Finally, refit the air box cover and tighten the screws. Close the front bonnet after maintenance. by ScegliAuto More videos
|
|
For advertising on this site Write to info@scegliauto.com
ScegliAuto is not responsible for any inaccuracy of the data in the lists. To report any inaccuracy or your business (if you own the business in question), please write to info@scegliauto.com
Number of seconds to generate the page: 0.059
(c) ScegliAuto 2026 - info@scegliauto.com - Privacy policy VAT number: IT01247470535 |