
|
Do it yourself
| |||
| ||||


How to replace the rear brake light bulb on a MINI
Model: Mini Mini
R52, R50, R53
- Years 2001-2007
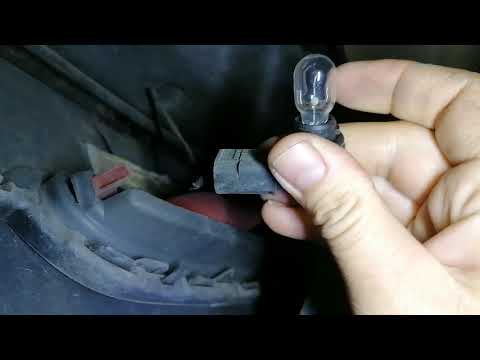
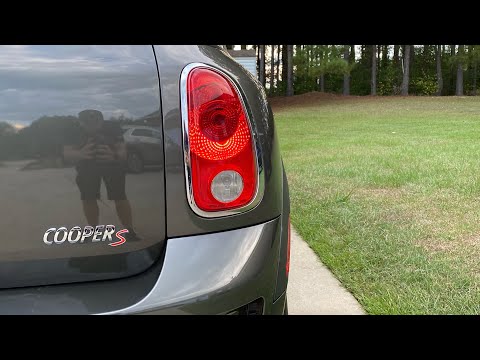
To gain access to the rear light assembly, we will need to open the trunk. Once opened, on the right side of the internal trunk, we will notice a small door. This door is locked by the two clips positioned on the top of it, and to unlock and remove it simply apply a light pressure on these two clips. Once this door has been removed, on the right we will notice the light bulb group. To unlock it and allow us to replace the rear brake bulb, we will have to exert a slight force on an additional clip. Once this is done, we will be able to extract the bulb group internally through the slot in the door. After this step we will have all the space to be able to easily replace the light bulb. The rear brake bulb is the one located at the bottom of the bulb assembly. To be able to disassemble it, we will have to slightly unscrew it anti-clockwise, and then extract it from its seat. Before moving it away, let's note the position of the two pins that characterize our double filament bulb. Subsequently we will have to insert the new bulb, positioning it inside its seat with the pins that respect the positions of the previous bulb, and screw it clockwise. For reassembly, simply follow these steps in reverse.
Posted on 31 July 2021 by ScegliAuto
Video tutorial
Related tutorials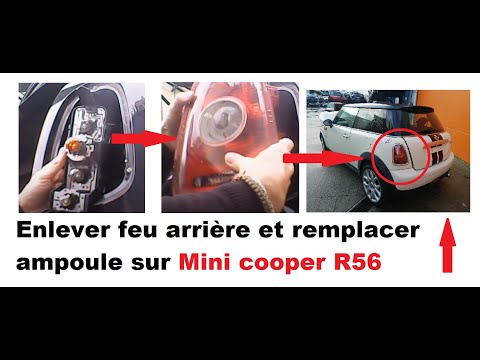
Mini
(2007-2014 /
R57, R55, R56)
To replace the stop light bulb in the Mini Cooper R56 it is necessary to disassemble the entire rear light. We start by removing the chromed plastic …
Mini
(2001-2007 /
R52, R50, R53)
Let's briefly see the instructions necessary to disassemble and replace the rear fog light bulb of the Mini Cooper. First of all, let's move to the r…
Mini
(2010-2016 /
R60, Countryman1)
Before we are able to begin, we will have to open the tailgate of our Mini Countryman. Let's start by disengaging and removing the internal side cove…
Other guides you may be interested in
|
How to Remove the Brake Disc on Mitsubishi Pajero
How to remove the brake disc along with the brake pads on a Mitsubishi Pajero? First, lift the vehicle on a column lift to a suitable height for working. Next, remove the wheel (using a telescopic spanner or air drill) with the respective bolts. Undo the locking bolt of the brake caliper, and remove it from the caliper support. Remove the caliper support from the wheel hub using a socket spanner. Once the brake disc is free, undo the screws with a fixed spanner and detach the disc from the wheel hub. Disconnect the various wiring and brake fluid pipes from the wheel assembly. Replace them with new parts (always use original and compliant parts). Prepare to install the new disc along with the respective pads, brake caliper, caliper support, etc. by ScegliAuto More videos
|
|
For advertising on this site Write to info@scegliauto.com
ScegliAuto is not responsible for any inaccuracy of the data in the lists. To report any inaccuracy or your business (if you own the business in question), please write to info@scegliauto.com
Number of seconds to generate the page: 0.120
(c) ScegliAuto 2026 - info@scegliauto.com - Privacy policy VAT number: IT01247470535 |