
|
Do it yourself
| |||
| ||||


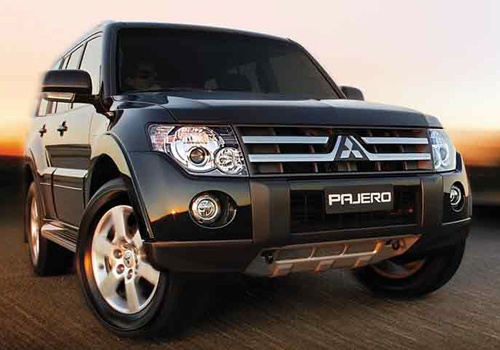
How to replace the headlight bulb of a Mitsubishi Pajero?
Model: Mitsubishi Pajero
V80, MK 4
- Years:
2006, 2007, 2008, 2009, 2010, 2011, 2012, 2013, 2014, 2015, 2016, 2017
Video tutorial
To replace the headlight bulb of a Mitsubishi Pajero, start by turning off the engine and opening the hood. Locate the back of the headlight assembly that contains the bulb to be replaced. Unclip the electrical connector from the bulb by gently pulling it back. Remove the rubber or plastic protective cover, depending on the model, being careful not to damage it. You will find a metal clip holding the bulb in place; unclip it by pressing and moving it to the side. Carefully remove the old bulb, avoiding touching the new bulb with your fingers to prevent leaving oil residues that could damage it. Insert the new bulb in the same orientation as the old one, making sure it is securely in place. Reattach the metal clip to secure the bulb in place. Reconnect the electrical connector to the new bulb, ensuring it is securely attached. Replace the rubber or plastic protective cover. Close the hood and turn on the headlights to verify that the new bulb is working correctly.
Posted on 6 January 2025 by ScegliAuto
Related tutorials
Mitsubishi Pajero
(2006-2021 /
V80, MK 4)
Today’s instructions will illustrate how to remove and replace the front headlamp bulb on a Mitsubishi Pajero in simple steps. First, open the bonnet…

Mitsubishi Pajero
(2006-2021 /
V80, MK 4)
Follow these steps to remove and replace the dipped and main beam bulb of the front headlamp on the Mitsubishi Pajero. First, open the bonnet of the …

Mitsubishi Pajero
(1999-2006 /
V60, MK 3)
In this video, see how to remove and replace the headlamp bulb on a Mitsubishi Pajero third series, following the instructions below. First, open the…
Other guides you may be interested in
|
How to Reset the Tire Pressure Light on a MG ZS?
On the instrument cluster of the MG ZS, the tire pressure light that appears can be reset by inflating the tires to the correct pressure: this value will be indicated on the sticker attached to the driver's door pillar. Once the tires have been properly inflated, you can turn on the instrument cluster and navigate through the menu until you find the option that indicates tire pressure: if this screen shows the new values, the light will turn off; otherwise, you will need to drive for a few miles so that the sensors can read the new values and turn off the light afterward. by ScegliAuto More videos
|
For advertising on this site Write to info@scegliauto.com
ScegliAuto is not responsible for any inaccuracy of the data in the lists. To report any inaccuracy or your business (if you own the business in question), please write to info@scegliauto.com
Number of seconds to generate the page: 0.096
(c) ScegliAuto 2026 - info@scegliauto.com - Privacy policy VAT number: IT01247470535 |
