
|
Do it yourself
| |||
| ||||


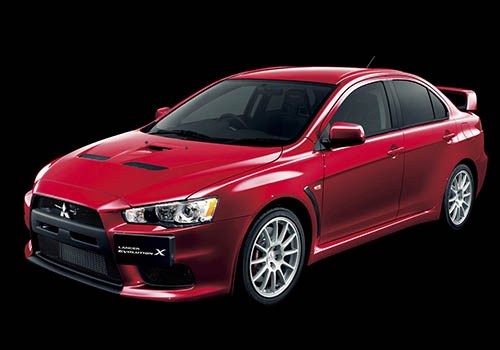
Engine Air Filter Replacement
Model: Mitsubishi Lancer
MK 9
- Years:
2007, 2008, 2009, 2010, 2011, 2012, 2013, 2014, 2015, 2016, 2017, 2018
Video tutorial
The engine air filter housing (AIRBOX) is located just behind the battery: disconnect the intake hose, unclip the metal clips securing the cover, remove the old filter, and clean any dirt from inside the box, ensuring it does not enter the intake duct. Insert the new filter and refit the cover, securing it with the clips, and reconnect the hose. It is also recommended to install a sports-type filter made of cotton rather than paper to improve filtration capacity and increase the amount of air drawn in, benefiting performance. Additionally, this type of filter can be easily cleaned with the appropriate cleaner instead of being replaced.
Updated on 14 February 2026 by ScegliAuto
Related tutorials
Mitsubishi Lancer
(1995-2000 /
MK 7)
In this video, you can see where the fuel filter is located in the Mitsubishi Lancer EVO and how to proceed if you need to replace it. As shown, the …

Mitsubishi Lancer
(1995-2000 /
MK 7)
The Mitsubishi Lancer produced from 1995 to 2003 has two fuse boxes. The first fuse box is located inside the cabin, specifically behind the driver's…
Mitsubishi Lancer
(2007-2020 /
MK 9)
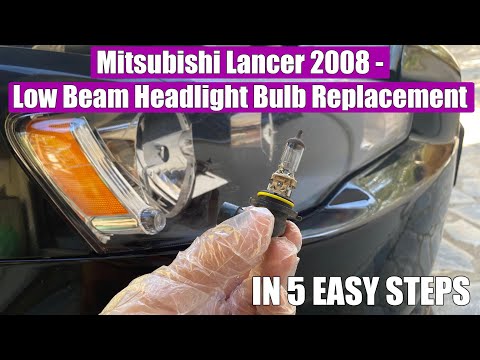
Replacing the headlight bulb in your 2008 Mitsubishi Lancer is undoubtedly one of the simplest and safest DIY operations to perform. With the followi…
Other guides you may be interested in
|
How to Remove the Rear Seat of a Hyundai Tucson?
To remove the rear seat of a Hyundai Tucson, follow these steps. Start by moving the front seats to their most forward position to gain space. Next, locate the release lever on the underside of the rear seat, near the floor. Press this lever down while pulling the seat upwards to unlock it from the anchor pins. Once unlocked, tilt the seat upwards and forwards to remove it from its position. Repeat this process for both sides of the rear seat. Be careful of any electrical cables or components that may be connected to the seat during removal. Once the rear seat is removed, the disassembly is complete. by ScegliAuto More videos
|
|
For advertising on this site Write to info@scegliauto.com
ScegliAuto is not responsible for any inaccuracy of the data in the lists. To report any inaccuracy or your business (if you own the business in question), please write to info@scegliauto.com
Number of seconds to generate the page: 0.084
(c) ScegliAuto 2026 - info@scegliauto.com - Privacy policy VAT number: IT01247470535 |
