
|
Do it yourself
| |||
| ||||


Instructions for Handbrake Adjustment
Model: Mitsubishi Pajero
V20, MK 2
- Years 1991-1999
The handbrake travel adjustment screw is located behind the lever itself: to access this adjustment, you need to remove the central tunnel cover; then unscrew the fastening screws of the plastic cover around the handbrake, two at the front and two at the bottom of the glove compartment located behind; once the cover is removed, you can access the adjustment by first loosening the locknut and then tightening the adjuster to set the handbrake travel (ensure it clicks 5 or 6 times at most); once the adjustment is complete, tighten the locknut and refit the cover.
Updated on 14 February 2026 by ScegliAuto
Video tutorial
Related tutorials
Mitsubishi Pajero
(1999-2006 /
MK 3, V60)
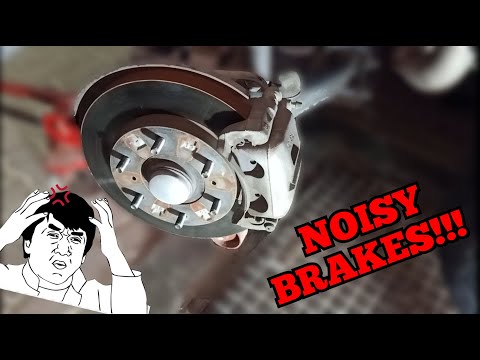
How to remove the brake disc along with the brake pads on a Mitsubishi Pajero? First, lift the vehicle on a column lift to a suitable height for work…
Mitsubishi Pajero
(2006-2021 /
MK 4, V80)
This guide shows you the steps to remove and replace the front brake pads on the Mitsubishi Pajero. First, lift the vehicle and start removing the fr…
Mitsubishi Pajero
(1999-2006 /
MK 3, V60)
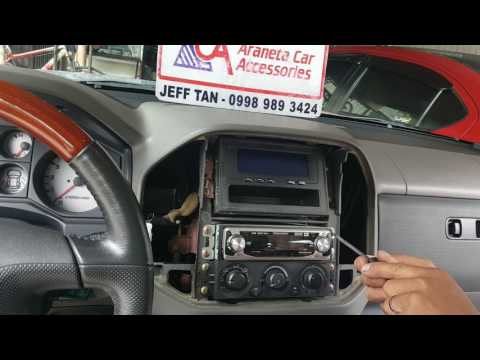
Remove the trim surround around the radio using a plastic lever (where the air vents are located). Once the cover panels above the centre console are…
Other guides you may be interested in
|
How to Reset the Tyre Pressure Light on the Opel Grandland X
While driving, if you notice the tyre pressure warning light coming on, first check the actual inflation pressure of the tyres and, if necessary, restore the pressures recommended by the manufacturer. After restoring the correct pressures, you need to reset the warning light that has illuminated on the instrument cluster. To do this, locate the reset button on the lower central console. Press this button and hold it down for at least 3 seconds, after which the low pressure indication will turn off. by ScegliAuto More videos
|
|
For advertising on this site Write to info@scegliauto.com
ScegliAuto is not responsible for any inaccuracy of the data in the lists. To report any inaccuracy or your business (if you own the business in question), please write to info@scegliauto.com
Number of seconds to generate the page: 0.057
(c) ScegliAuto 2026 - info@scegliauto.com - Privacy policy VAT number: IT01247470535 |
