
|
Do it yourself
| |||
| ||||


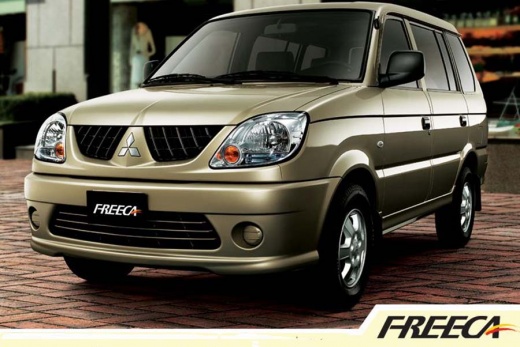
How to Paint the Drum Brakes Red on the Mitsubishi Freeca/Adventure
Model: Mitsubishi Freeca
MK 1
- Years:
1997, 1998, 1999, 2000, 2001, 2002, 2003, 2004, 2005, 2006, 2007, 2008
Video tutorial
The first thing to do is safely lift the vehicle. Since you will need to remove the tires, it's best to use a couple as spacers. Carefully clean the rear brake drum. It must be perfectly clean to be painted. Mask off the bolts carefully; otherwise, the added thickness will prevent them from fitting back into their holes. Mask the body and fender with cardboard or thick paper, then apply a primer and let it dry well. Next, apply the red paint, either glossy or matte, according to your preference. YouTubers have chosen a glossy finish because they applied a gloss afterward. Now you can reattach the tire and wheel, which will showcase the bright red drum.
Updated on 29 July 2026 by ScegliAuto
Related tutorials
Mitsubishi Freeca
(1997-2017 /
MK 1)
In this video, see how to wash the engine of the Mitsubishi Freeca (or Adventure, the name changes depending on the country where it is sold). You ca…

Mitsubishi Freeca
(1997-2017 /
MK 1)
In this video tutorial, follow the step-by-step instructions to remove and replace the front wipers on the Mitsubishi Adventure and Freeca. First, mo…

Mitsubishi Freeca
(1997-2017 /
MK 1)
The lift supports of a tailgate as large as that of the Freeca/Adventure are prone to wear due to their function, and being long and thin, they are s…
Other guides you may be interested in
|
How to Remove the Rear Seat of a Hyundai Tucson?
To remove the rear seat of a Hyundai Tucson, follow these steps. Start by moving the front seats to their most forward position to gain space. Next, locate the release lever on the underside of the rear seat, near the floor. Press this lever down while pulling the seat upwards to unlock it from the anchor pins. Once unlocked, tilt the seat upwards and forwards to remove it from its position. Repeat this process for both sides of the rear seat. Be careful of any electrical cables or components that may be connected to the seat during removal. Once the rear seat is removed, the disassembly is complete. by ScegliAuto More videos
|
|
For advertising on this site Write to info@scegliauto.com
ScegliAuto is not responsible for any inaccuracy of the data in the lists. To report any inaccuracy or your business (if you own the business in question), please write to info@scegliauto.com
Number of seconds to generate the page: 0.028
(c) ScegliAuto 2026 - info@scegliauto.com - Privacy policy VAT number: IT01247470535 |
