
|
Do it yourself
| |||
| ||||


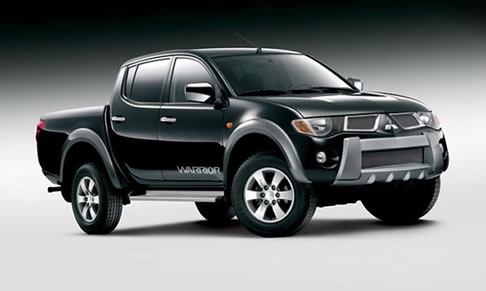
How to Replace the Timing Belt on the 2013 Mitsubishi L 200
Model: Mitsubishi L 200
MK 2
- Years:
2005, 2006, 2007, 2008, 2009, 2010, 2011, 2012, 2013, 2014, 2015
Video tutorial
Today, we will guide you through the process of replacing the timing belt on the 2013 Mitsubishi L 200. The first step is to open the front bonnet and remove the belt from the cooling system by unscrewing the screws on the cover. Then, remove the pulley from the crankshaft and proceed with the timing belt replacement. Loosen the tensioner and slide off the belt from the pulleys. Insert the new belt and tighten the pulleys to reposition it. Reassemble the pulley and the cooling system as shown in the video, following the steps in reverse.
Updated on 15 September 2026 by ScegliAuto
Related tutorials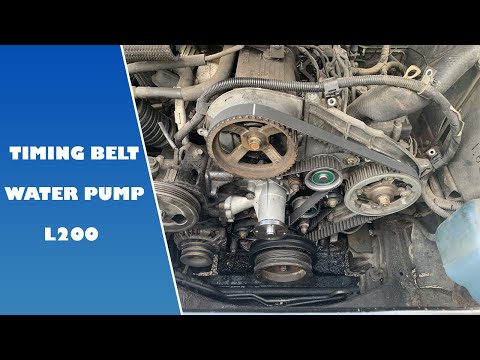
Mitsubishi L 200
(1996-2005 /
MK 1)
In this guide, you will see the main steps to remove and replace the timing belt on the first generation Mitsubishi L 200. Open the bonnet and start …
Mitsubishi L 200
(2005-2015 /
MK 2)
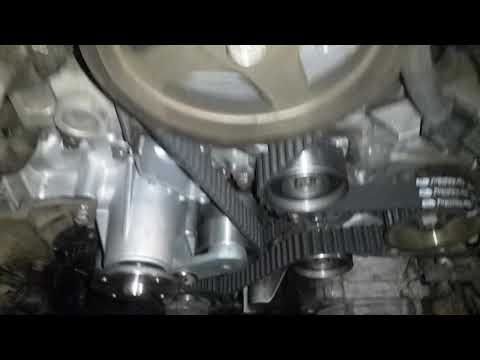
In this brief guide, you will discover when to replace the timing belt on the Mitsubishi L200 2.5 Turbo Diesel, following the instructions below. The…

Mitsubishi L 200
(2005-2015 /
MK 2)
This guide provides the main instructions for replacing the timing belt of the Mitsubishi L200, with engine code 4G64. First, remove the cooling syst…
Other guides you may be interested in
|
Frequently Asked QuestionsHow to reset the tyre pressure warning light on the Kia Niro EV?
To reset the tyre pressure warning light on the Kia Niro EV, inflate the tyres until they reach the correct pressure value. This value is indicated on the sticker attached to the driver's door pillar. Once the tyres are inflated, turn on the instrument cluster to check that the warning light has completely disappeared from the display. If it is still present, you may need to drive for a few miles to ensure it disappears completely from the screen. by ScegliAuto More videos
|
|
For advertising on this site Write to info@scegliauto.com
ScegliAuto is not responsible for any inaccuracy of the data in the lists. To report any inaccuracy or your business (if you own the business in question), please write to info@scegliauto.com
Number of seconds to generate the page: 0.065
(c) ScegliAuto 2026 - info@scegliauto.com - Privacy policy VAT number: IT01247470535 |
