
|
Do it yourself
| |||
| ||||


How to remove the windscreen washer pump from a Nissan Micra
Model: Nissan Micra
K11
- Years:
1992, 1993, 1994, 1995, 1996, 1997, 1998, 1999, 2000, 2001, 2002
Video tutorial
This is a task that can be done alone with the right tools and a bit of skill. Once you have confirmed that the issue is with the pump and not other components, identify which side (the right) the pumps are located (there is one for the windscreen and one for the rear wiper). Since it is impossible to remove it from the bonnet side, you will need to do it from the wheel side, so proceed to remove the wheel arch liner. You will then find both pumps; gently pull them towards you, disconnect one of the connectors, and with a multimeter set to the closest possible reading to 12 volts, check its proper functioning. If it does not approach 12 volts, it means the pump needs replacing. Disconnect it, take the new pump, attach the new origin, connect it to the hose and the connector from which you previously disconnected the old one. Once you are sure that all parts are reconnected properly, test the pump, which should make a specific sound, as you can hear in the video. Reposition it in its housing and reattach the wheel arch liner. Do a final check with the control inside the car and enjoy your clean windows!
Updated on 31 May 2026 by ScegliAuto
Related tutorials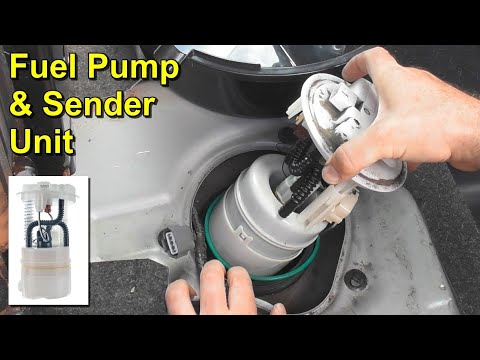
Nissan Micra
(2002-2010 /
K12)
This guide will illustrate the procedure for removing and replacing the fuel pump on the Nissan Micra. First, open the rear doors and remove the rear…

Nissan Micra
(1992-2002 /
K11)
Remove the wiper motor from a Nissan Micra. Locate the motor under the front windscreen. Remove the plastic cover from under the windscreen along wit…
Nissan Micra
(1992-2002 /
K11)
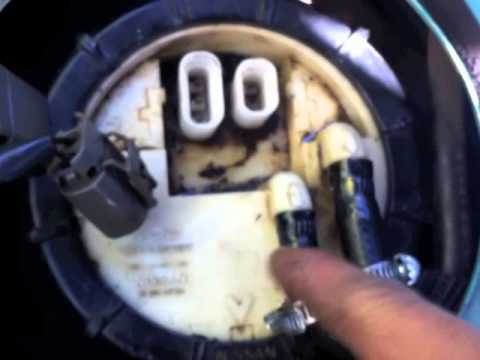
Remove the damaged fuel pump from a Nissan Micra. Start by lifting the rear seat (base) and locating the fuel pump cover. Remove the metal panel cove…
Other guides you may be interested in
|
How to Remove the Rear Seat of a Hyundai Tucson?
To remove the rear seat of a Hyundai Tucson, follow these steps. Start by moving the front seats to their most forward position to gain space. Next, locate the release lever on the underside of the rear seat, near the floor. Press this lever down while pulling the seat upwards to unlock it from the anchor pins. Once unlocked, tilt the seat upwards and forwards to remove it from its position. Repeat this process for both sides of the rear seat. Be careful of any electrical cables or components that may be connected to the seat during removal. Once the rear seat is removed, the disassembly is complete. by ScegliAuto More videos
|
|
For advertising on this site Write to info@scegliauto.com
ScegliAuto is not responsible for any inaccuracy of the data in the lists. To report any inaccuracy or your business (if you own the business in question), please write to info@scegliauto.com
Number of seconds to generate the page: 0.032
(c) ScegliAuto 2026 - info@scegliauto.com - Privacy policy VAT number: IT01247470535 |
