
|
Do it yourself
| |||
| ||||


How to replace the front brake discs of the Opel Astra
Model: Vauxhall Astra
Astra H
- Years 2004-2010
Today with the help of the following video tutorial, we will explain how to replace the front brake discs of the Opel Astra model h. We start the replacement by opening the hood and unscrewing the cap of the brake fluid reservoir. Immediately after, we loosen the bolts of the front wheel with a 17mm wrench and then once the car is lifted, we remove the wheel. Using a flat-head screwdriver, we release the clips of the caliper and then with a 7mm wrench, we remove the brake caliper. We continue with the removal of the caliper bracket and conclude with the removal of the brake disc. We clean the area with a wire brush, apply grease and install the new disc and then the brake pad. We insert the caliper bracket, the caliper and finish with the mounting of the wheel. Proceed in the same way for the front left disc.
Posted on 24 February 2025 by ScegliAuto
Video tutorial
Related tutorials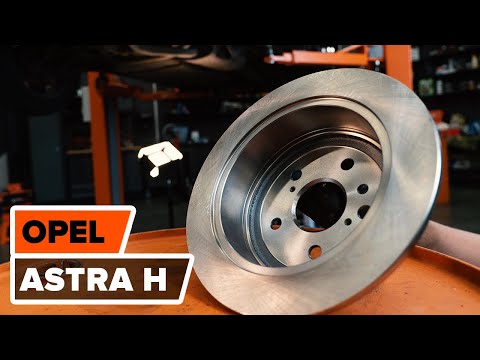
Vauxhall Astra
(2004-2010 /
Astra H)
Let’s discover the step-by-step instructions needed to remove and replace the rear brake discs on the Opel Astra H. First, lift the vehicle and remov…
Vauxhall Astra
(2004-2010 /
Astra H)
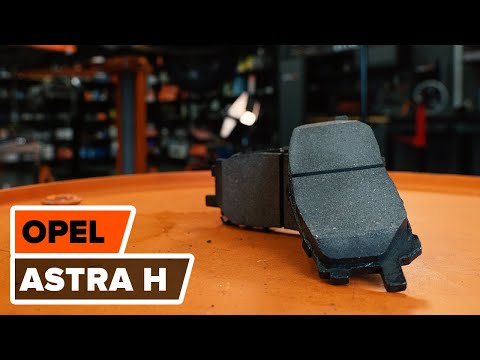
In this video, you will learn how to remove the brake discs and pads from an Opel Astra. First, remove the wheel by unscrewing the bolts and lift the…
Vauxhall Astra
(2009-2016 /
Astra J)
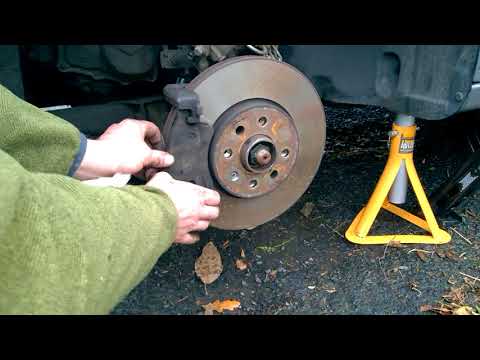
How do you replace the brake pads on an Opel Astra? This guide shows the disassembly of the brake components. Remove the wheel to access the brake di…
Other guides you may be interested in
|
How to Open the Bonnet on the Lancia Y
To open the bonnet on this vehicle, follow these simple instructions: first, open the driver's door and locate the lever positioned just below the dashboard, marked with an image of the vehicle with the bonnet open. Pull this lever towards you until you hear a "click" indicating the bonnet is released. Next, exit the cabin and stand in front of the bonnet to disengage the safety catch and complete the opening. To do this, slightly lift the bonnet, locate the yellow lever underneath, and pull it to the left to fully release and open the bonnet. by ScegliAuto More videos
|

|
For advertising on this site Write to info@scegliauto.com
ScegliAuto is not responsible for any inaccuracy of the data in the lists. To report any inaccuracy or your business (if you own the business in question), please write to info@scegliauto.com
Number of seconds to generate the page: 0.067
(c) ScegliAuto 2026 - info@scegliauto.com - Privacy policy VAT number: IT01247470535 |
