
|
Do it yourself
| |||
| ||||


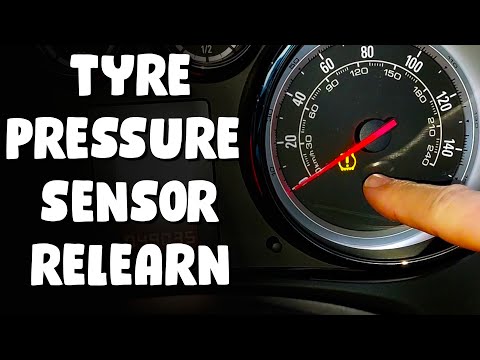
How is the tire pressure warning light reset in the Opel Meriva done?
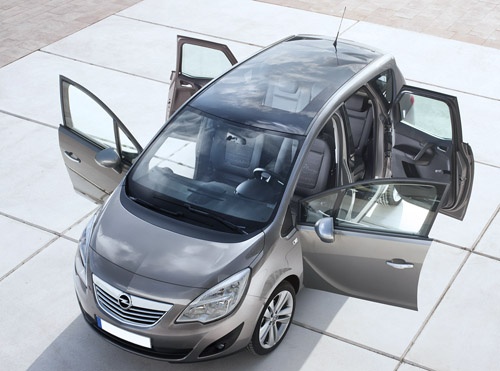
Model: Vauxhall Meriva
Meriva B, MK 2
- Years 2010-2017
The car mentioned above, for clarity, is the one shown and reviewed in the video available here, and it is this car that we will delve into the topic of tires. When one or more of these is deflated, punctured, cut, or a control sensor installed in the tire breaks, the warning light on the instrument panel lights up. This is due to the decrease in inflation pressure, so we must promptly restore the unexpected event, then reset the aforementioned warning light as specified below: Turn on the instrument panel, press the Menu button on the left lever of the steering wheel to access the Settings, select the Tire Reset option and, while holding down the aforementioned Menu button, enable the reset in question.
Posted on 6 July 2025 by ScegliAuto
Video tutorial
Related tutorials
Vauxhall Meriva
(2010-2017 /
Meriva B, MK 2)
Today we will explain the steps to independently reset the tire pressure warning light on an Opel Meriva model B. Turn off the vehicle and engage the…
Vauxhall Meriva
(2010-2017 /
Meriva B, MK 2)
In today's video we will see how to reset and relearn the tire pressure sensors of the Opel Meriva, following these simple steps. First, let's get ou…

Vauxhall Meriva
(2010-2017 /
Meriva B, MK 2)
In order to reset the tire pressure warning light on the Opel Meriva, you need to inflate the tires to the correct pressure value: this value is indi…
Other guides you may be interested in
|
Installation of Upgraded Intercooler Radiator with Pipes
Lift the vehicle on suitable axle stands, remove the front wheels, and then the front bumper and grille. Proceed to remove the front headlights; drain the coolant, remove the intercooler radiator and the hoses connecting it to the intake system. Position the new intercooler radiator in the grille, temporarily securing it with cable ties, and mark with a marker the part of the metal that needs to be removed to allow the new hoses to pass through. Cut the marked portion of metal and apply a gasket to the edge. Remove the inner cover of the bumper and position it near the radiator to identify any interfering parts to eliminate: again, apply a gasket to the edge of the cut. Create brackets for securing the new radiator and proceed with the installation of the connecting pipes from the radiator to the intake, shaping and connecting them appropriately. Finally, reassemble the bumper, headlights, and grille. by ScegliAuto More videos
|
|
For advertising on this site Write to info@scegliauto.com
ScegliAuto is not responsible for any inaccuracy of the data in the lists. To report any inaccuracy or your business (if you own the business in question), please write to info@scegliauto.com
Number of seconds to generate the page: 0.071
(c) ScegliAuto 2026 - info@scegliauto.com - Privacy policy VAT number: IT01247470535 |