
|
Do it yourself
| |||
| ||||


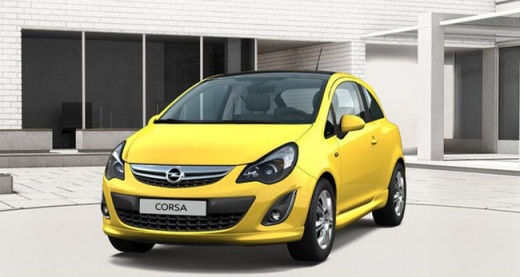
Activation of a warning light on the dashboard of the Opel Corsa D
Model: Vauxhall Corsa
Corsa D
- Years:
2006, 2007, 2008, 2009, 2010, 2011, 2012, 2013, 2014
Video tutorial
On the dashboard of this Opel Corsa D, a yellow warning light with a wrench has lit up, and according to the instruction manual, this light indicates a malfunction in the engine or gearbox electronics. The car has entered emergency mode, resulting in increased fuel consumption. The car was connected to a diagnostic tool, and it was diagnosed from the ECU that one of the glow plugs had burned out. The solution was to replace only the faulty glow plug, which was the second one from the left, so it was not necessary to remove the turbo; all four glow plugs did not need to be removed. A significant time-saving. After the replacement, the warning light turned off and the problem was solved at a low cost.
Posted on 14 November 2025 by ScegliAuto
Related tutorials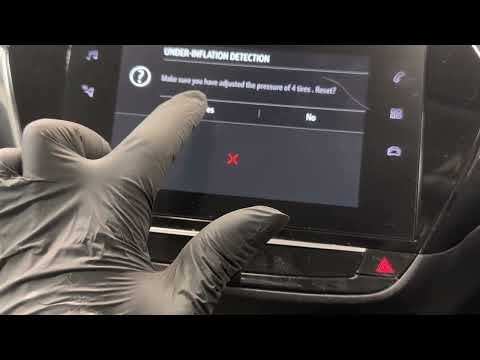
Vauxhall Corsa
(2019-2026 /
Corsa F)
If the TPMS light on the dashboard of your Opel Corsa F (2019-2023) lights up despite there being no punctures, you must proceed with the manual rese…

Vauxhall Corsa
(2019-2026 /
Corsa F)
Today's instructions will allow us to reset the tire pressure warning light on the Opel Corsa. Before resetting the TPMS sensors, it is necessary for…

Vauxhall Corsa
(2006-2014 /
Corsa D)
In this brief guide, we will see how to reset the airbag warning light on the Opel Corsa. First, get inside the vehicle and switch on the ignition; l…
Other guides you may be interested in
|
Frequently Asked QuestionsHow to Remove the Rear Seat of a Hyundai Tucson?
To remove the rear seat of a Hyundai Tucson, follow these steps. Start by moving the front seats to their most forward position to gain space. Next, locate the release lever on the underside of the rear seat, near the floor. Press this lever down while pulling the seat upwards to unlock it from the anchor pins. Once unlocked, tilt the seat upwards and forwards to remove it from its position. Repeat this process for both sides of the rear seat. Be careful of any electrical cables or components that may be connected to the seat during removal. Once the rear seat is removed, the disassembly is complete. by ScegliAuto More videos
|
|
For advertising on this site Write to info@scegliauto.com
ScegliAuto is not responsible for any inaccuracy of the data in the lists. To report any inaccuracy or your business (if you own the business in question), please write to info@scegliauto.com
Number of seconds to generate the page: 0.025
(c) ScegliAuto 2026 - info@scegliauto.com - Privacy policy VAT number: IT01247470535 |
