
|
Do it yourself
| |||
| ||||


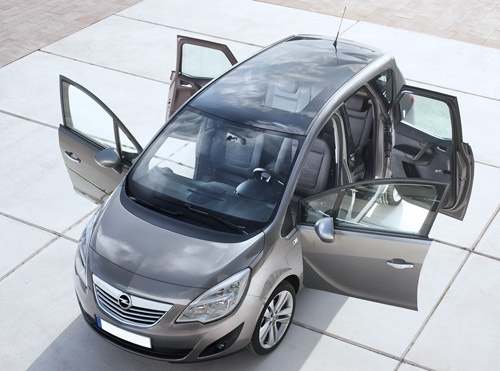
What to do if the Opel Meriva shows code 82.
Model: Vauxhall Meriva
Meriva B, MK 2
- Years:
2010, 2011, 2012, 2013, 2014, 2015, 2016, 2017
Video tutorial
Let's see how we should behave if our Opel Meriva (but also Corsa and Astra) displays error code 82 on the dashboard. In reality, this is not an error code but a reminder for scheduled maintenance, indicating that the oil counter has reached 0% and it's time to perform the service (oil and filter change) according to the intervals calculated by the car. So, it is not a mechanical failure but just a service notification. After performing the service, we can reset this error ourselves by turning on the ignition and using the "menu" button on the steering wheel control on the left side. We scroll through the screens looking for the one that shows the oil life percentage. We press and hold the "ok" button for about 5 to 10 seconds, and we will hear a beep and see the percentage return to 100%.
Posted on 8 December 2025 by ScegliAuto
Related tutorials
Vauxhall Meriva
(2010-2017 /
Meriva B, MK 2)
Error code 59 appears on the display of the 2012 Opel Meriva B when it is necessary to open and close the driver's side window. To remove the code, s…

Vauxhall Meriva
(2010-2017 /
Meriva B, MK 2)
Code 55 in a 2011 Opel Meriva indicates the regeneration of the particulate filter. To resolve this issue, first, remove the panel located under the …

Vauxhall Meriva
(2010-2017 /
Meriva B, MK 2)
The "error code 18" on an Opel Meriva model b vehicle indicates a malfunction in the right low beam headlight bulb. In these cases, it is necessary t…
Other guides you may be interested in
|
Frequently Asked QuestionsHow to Remove the Rear Seat of a Hyundai Tucson?
To remove the rear seat of a Hyundai Tucson, follow these steps. Start by moving the front seats to their most forward position to gain space. Next, locate the release lever on the underside of the rear seat, near the floor. Press this lever down while pulling the seat upwards to unlock it from the anchor pins. Once unlocked, tilt the seat upwards and forwards to remove it from its position. Repeat this process for both sides of the rear seat. Be careful of any electrical cables or components that may be connected to the seat during removal. Once the rear seat is removed, the disassembly is complete. by ScegliAuto More videos
|
|
For advertising on this site Write to info@scegliauto.com
ScegliAuto is not responsible for any inaccuracy of the data in the lists. To report any inaccuracy or your business (if you own the business in question), please write to info@scegliauto.com
Number of seconds to generate the page: 0.054
(c) ScegliAuto 2026 - info@scegliauto.com - Privacy policy VAT number: IT01247470535 |
