
|
Do it yourself
| |||
| ||||


How to install the folding roof on an Opel Cascada
Model: Vauxhall Cascada
MK 1
- Years 2013-2019
Let's see how to install the folding roof on an Opel Cascada: it is a delicate operation that should be done by three people. We need to protect the side and rear rubber seals of the roof to avoid damage. Four hydraulic cylinders must be mounted on the hinge plate of the roof: each cylinder is secured with two pins and two clips. We attach long straps to the hinge plates to use them as handles, then, with the help of three people, we lift the roof, remove the support, and insert it into the vehicle body. We connect the hinge plate to the anchoring plate on the vehicle, then manually screw in the three fastening bolts on each side. We manually bring the roof to service position 2 (roof lowered to the front pillar, with the tension bow locked in position). We secure the hydraulic line and the electric connector in the marked points, connect the electrical plug, and complete the hydraulic assembly. We check that the hinge plate is perfectly resting on the anchoring plate, manually verify that the roof's kinematics move freely, tighten the three fastening bolts on each side, test the electrical operation, and reassemble all the interior trims. In summary, this is a very technical job that requires a precise and safe procedure.
Posted on 30 December 2025 by ScegliAuto
Video tutorial
Related tutorials
Vauxhall Cascada
(2013-2019 /
MK 1)
If you don't know where the OBD port of your 2013 Opel Cascada is located, don't worry because in the following guide you will find a description of …
Vauxhall Cascada
(2013-2019 /
MK 1)
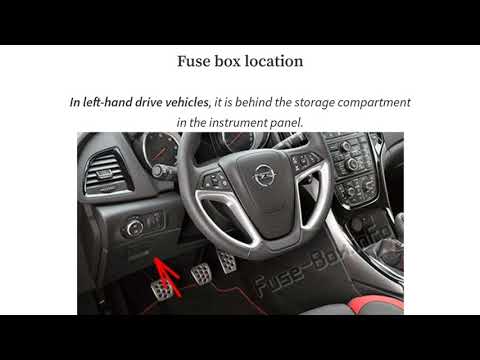
If you need to work on one or more electrical components of your Opel Cascada but do not know where the fuse box is, do not worry as you will find al…
Vauxhall Cascada
(2013-2019 /
MK 1)
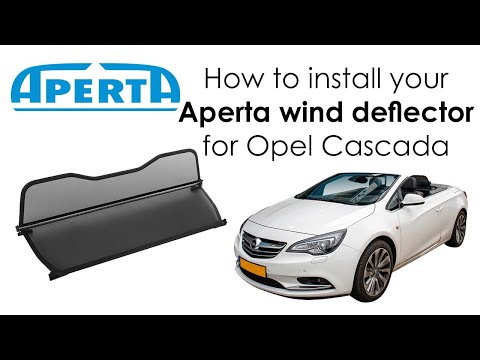
In this video, we show how to install a wind deflector on an Opel Cascada: this component reduces wind noise and turbulence when driving with the roo…
Other guides you may be interested in
|
How to Replace the Battery on a Honda Vision 110
To replace the battery on a Honda Vision 110, you need to remove the front fairing of the motorcycle, located directly under the front headlamp. To loosen this panel, unscrew the two screws found at its top, just below the handlebar. Once these screws are loosened, lever under the panel to detach it, gaining access to the battery underneath: this battery must be removed from its housing by unscrewing the fixing screws and disconnecting the power cables, replacing it with a new one. by ScegliAuto More videos
|

|
For advertising on this site Write to info@scegliauto.com
ScegliAuto is not responsible for any inaccuracy of the data in the lists. To report any inaccuracy or your business (if you own the business in question), please write to info@scegliauto.com
Number of seconds to generate the page: 0.466
(c) ScegliAuto 2026 - info@scegliauto.com - Privacy policy VAT number: IT01247470535 |
