
|
Do it yourself
| |||
| ||||


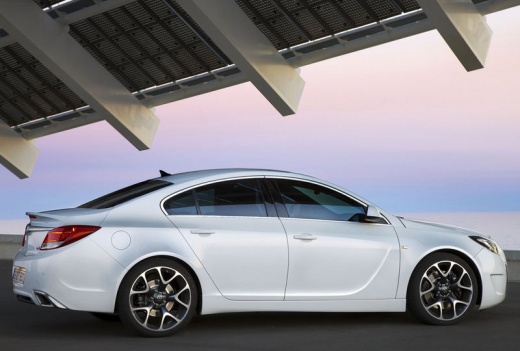
Complete Removal of the Car Radio
Model: Vauxhall Insigna
MK 1, Insigna A
- Years:
2008, 2009, 2010, 2011, 2012, 2013, 2014, 2015, 2016, 2017
Video tutorial
Remove the ashtray drawer by disengaging it from the plastic clips at the bottom. Using a plastic tool to avoid damaging the bodywork, lever at the base of the tunnel around the gearbox to release the plastic clips and move it to access the retaining screws of the glove compartment. Remove the trim around the radio by gently lifting it upwards and disconnect the cigarette lighter connector. At this point, pull the car radio out of the compartment by carefully disconnecting the connectors, taking care not to pull the wires. To reinstall the equipment, simply reconnect the connectors exactly to their respective sockets and gently insert the radio and player into their compartment, ensuring not to pinch the electrical cables. Turn on the radio and perform a test to verify the perfect operation of both the radio unit and the CD player.
Updated on 7 February 2026 by ScegliAuto
Related tutorials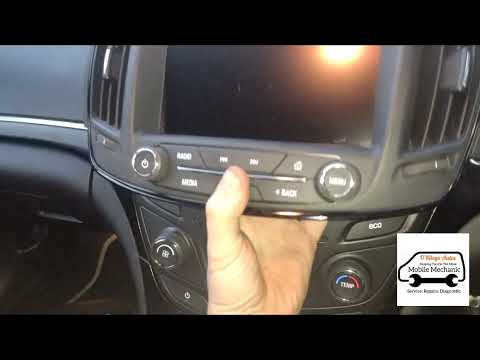
Vauxhall Insigna
(2008-2017 /
MK 1, Insigna A)
This guide shows the entire procedure necessary to replace the car radio in a first-generation Opel Insignia (2008-2017). This is a simple operation …

Vauxhall Insigna
(2008-2017 /
MK 1, Insigna A)
Is the radio not working on your Opel Insignia? Here’s how to remove it. Use a plastic lever to detach the trim panels on both sides of the stereo fr…

Vauxhall Insigna
(2017-2026 /
MK 2, Insigna B)
Lift the bonnet and place the support rod in position. Start by unscrewing the bolts at the top of the bumper, as shown in the video. Next, unscrew t…
Other guides you may be interested in
|
How to Reset the Tire Pressure Light on a MG ZS?
On the instrument cluster of the MG ZS, the tire pressure light that appears can be reset by inflating the tires to the correct pressure: this value will be indicated on the sticker attached to the driver's door pillar. Once the tires have been properly inflated, you can turn on the instrument cluster and navigate through the menu until you find the option that indicates tire pressure: if this screen shows the new values, the light will turn off; otherwise, you will need to drive for a few miles so that the sensors can read the new values and turn off the light afterward. by ScegliAuto More videos
|
|
For advertising on this site Write to info@scegliauto.com
ScegliAuto is not responsible for any inaccuracy of the data in the lists. To report any inaccuracy or your business (if you own the business in question), please write to info@scegliauto.com
Number of seconds to generate the page: 0.041
(c) ScegliAuto 2026 - info@scegliauto.com - Privacy policy VAT number: IT01247470535 |
