
|
Do it yourself
| |||
| ||||


Engine Diagnostic Connector Housing
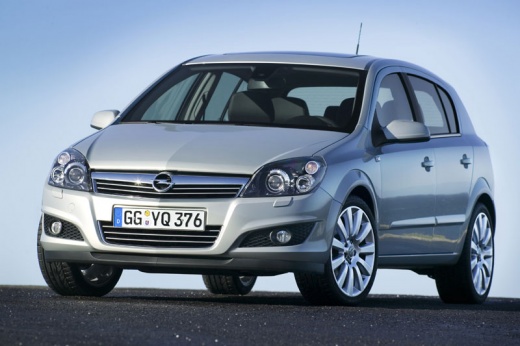
Model: Vauxhall Astra
Astra H
- Years 2004-2010
There are various reasons to resort to a computerised diagnosis of the engine or the ECU. There may be a malfunction in the engine or part of it, indicated by warning lights on the dashboard. Alternatively, it could simply be a maintenance warning after driving a certain distance. In any case, to access the diagnostic connector, you only need to perform a simple operation. Lift the plastic cover located just below the handbrake lever, possibly using a flat-blade tool. Car model: OPEL ASTRA H OBD-II.
Updated on 12 February 2026 by ScegliAuto
Video tutorial
Related tutorials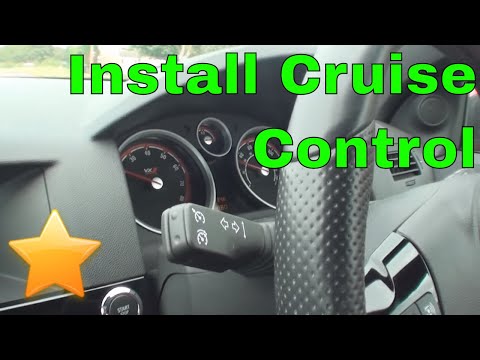
Vauxhall Astra
(2004-2010 /
Astra H)
All Opel Astra H models are pre-equipped for cruise control installation: simply install the stalk switch with the activation button and then configu…

Vauxhall Astra
(2009-2016 /
Astra J)
The Opel Astra model J has two fuse boxes and an OBD port for diagnostics. The OBD port is located inside the vehicle's cabin under the steering whee…
Vauxhall Astra
(2004-2010 /
Astra H)
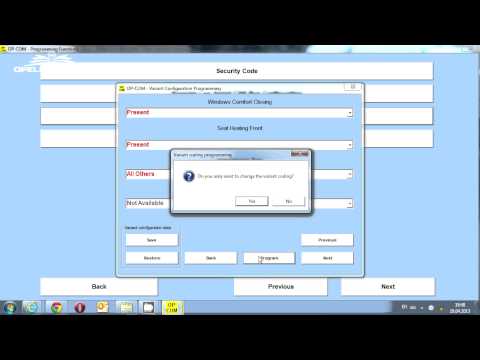
To programme the opening and closing of the windows remotely with the remote control, you need to have the official Opel diagnostic tool (known as OP…
Other guides you may be interested in
|
How to Replace the Rear Light and Bulbs on a Ford Focus Year 2000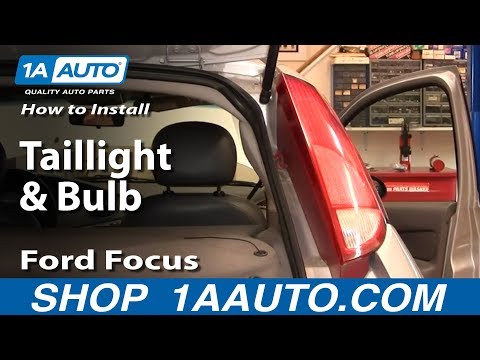
To replace the rear light and bulbs on a Ford Focus 2000/2004, first, open the tailgate of the boot. This gives access to the screw that holds the rear light in place. The screw to undo (using an appropriate screwdriver) is located inside the light and corresponds to the fold that accommodates the tailgate (as shown in the images). Once you start to undo it, continue with the operation and then remove the nut from the inside of the bodywork. At this point, you can remove the light, being careful to disconnect the electrical supply by unplugging the connectors or removing the entire bulb holder from its housing. This way, you can replace the bulbs. To reassemble everything, simply follow the described operations in reverse order. by ScegliAuto More videos
|
|
For advertising on this site Write to info@scegliauto.com
ScegliAuto is not responsible for any inaccuracy of the data in the lists. To report any inaccuracy or your business (if you own the business in question), please write to info@scegliauto.com
Number of seconds to generate the page: 0.056
(c) ScegliAuto 2026 - info@scegliauto.com - Privacy policy VAT number: IT01247470535 |