
|
Do it yourself
| |||
| ||||


Replacing the Exhaust with Catalytic Converter Removal
Model: Vauxhall Astra
Astra H
- Years 2004-2010
Note that removing the catalytic converter is illegal as the vehicle will no longer comply with the emission restrictions for which it was designed and homologated. The final result will be a decidedly appealing sound with a significant performance improvement. Once the engine has cooled, lift the vehicle on suitable axle stands (preferably on a lift), lubricate the pins of the coupling clamps of the various sections that make up the exhaust pipe and those of the flange connecting the catalytic converter to the exhaust manifold. Then unscrew the pins, disconnect the support rubbers, and remove the original exhaust. Proceed with the installation of the downpipe, which is the direct pipe replacing the catalytic converter, applying gasket sealant to the coupling flange, and then complete the assembly of the rear silencer by securing the various support rubbers.
Updated on 13 February 2026 by ScegliAuto
Video tutorial
Related tutorials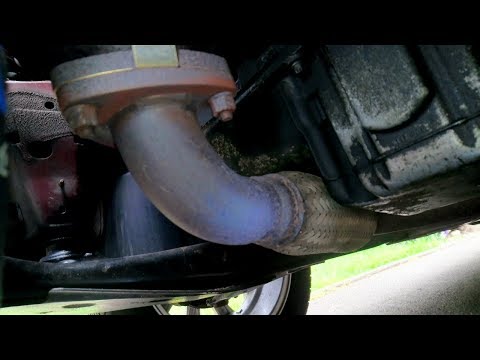
Vauxhall Astra
(1998-2006 /
Astra G)
In today's tutorial video, we will go through the main steps to remove the exhaust, along with the exhaust catalytic converter, from an Opel Astra G …
Vauxhall Astra
(2004-2010 /
Astra H)
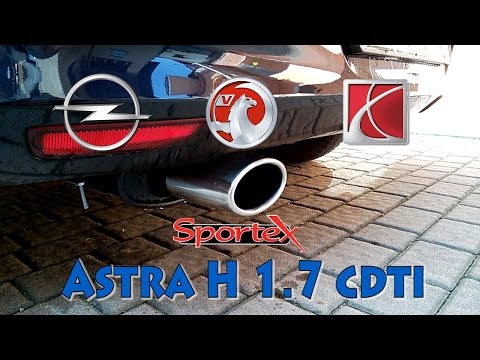
In this tutorial, learn how to remove the catalytic converter on an Opel Astra H by following the instructions below. First, lift the vehicle and sta…

Vauxhall Astra
(2004-2010 /
Astra H)
If you decide to remove the catalytic converter and install a direct pipe, known as a downpipe, you must consider that emissions may no longer comply…
Other guides you may be interested in
|
How to reset the tyre pressure warning light on the Suzuki Jimny?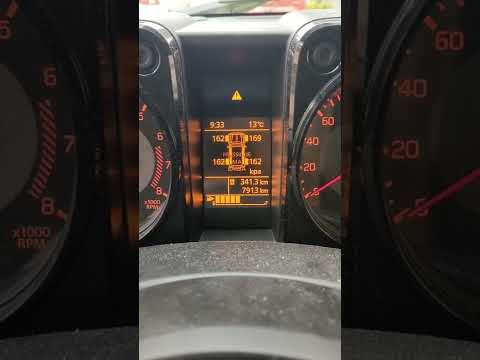
To reset the tyre pressure warning light on the Suzuki Jimny, first inflate the tyres to the pressure value indicated on the corresponding sticker: this is located at the bottom of the driver's door pillar. Once the tyres are inflated, insert the ignition key and turn on the instrument panel: select the screen that indicates the tyre pressures, checking that the values change. After a few seconds, the tyre pressure warning light will automatically turn off. by ScegliAuto More videos
|
|
For advertising on this site Write to info@scegliauto.com
ScegliAuto is not responsible for any inaccuracy of the data in the lists. To report any inaccuracy or your business (if you own the business in question), please write to info@scegliauto.com
Number of seconds to generate the page: 0.637
(c) ScegliAuto 2026 - info@scegliauto.com - Privacy policy VAT number: IT01247470535 |
