
|
Do it yourself
| |||
| ||||


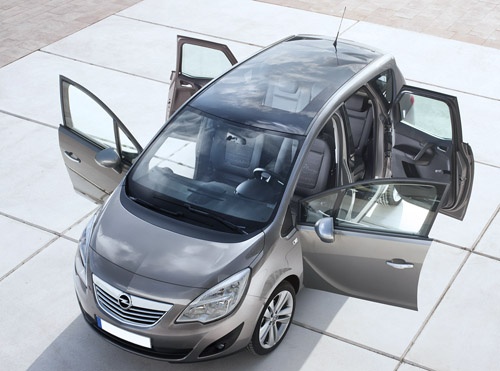
How to replace the headlight bulb on the Opel Meriva?
Model: Vauxhall Meriva
MK 2, Meriva B
- Years 2010-2017
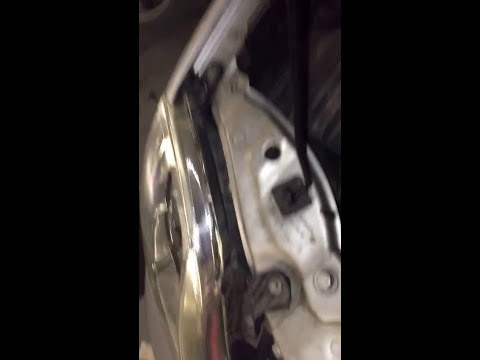
In order to replace the headlight bulb of the Opel Meriva you have to go to open the hood, so that you can have access to the inside of the corresponding headlight: here there will be a cover that will have to be removed, so that you can have access to the components inside the optical group. This bulb will need to be unplugged from its connector and removed completely so that a new one can be plugged in. After the latter has been connected, it will be necessary to insert it inside the lighthouse and close the latter with its cover, checking that everything works correctly.
Posted on 12 November 2022 by ScegliAuto
Video tutorial
Related tutorials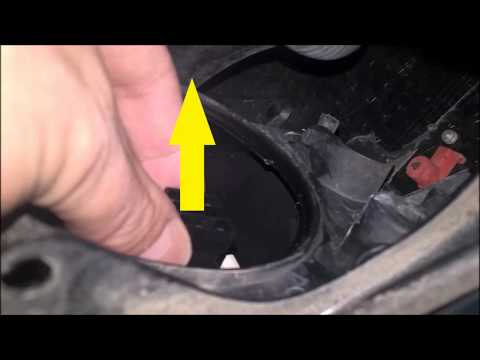
Vauxhall Meriva
(2010-2017 /
MK 2, Meriva B)
How to replace the front headlight bulb on an Opel Meriva? Open the front bonnet by pulling the lever located at the bottom right of the dashboard, a…
Vauxhall Meriva
(2003-2010 /
Meriva A, MK 1)
Here’s how to replace the headlight bulbs on an Opel Meriva: Open the front bonnet by pulling the lever located at the bottom right of the dashboard …
Vauxhall Meriva
(2003-2010 /
Meriva A, MK 1)
How to replace the indicator bulb on an Opel Meriva? Here’s how to proceed: get a plastic lever or use a screwdriver. Pry the plastic of the indicato…
Other guides you may be interested in
|
How to Replace the Reverse Light Switch on a Suzuki Jimny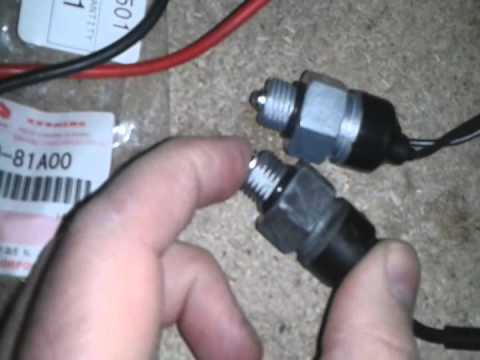
If the reverse light in the rear lamps does not illuminate when engaging reverse and the bulbs are functioning, the switch, also known as the bulb due to its shape, may be damaged. This switch is located on the gearbox; there is enough space to manoeuvre in the engine bay. Start by disconnecting the connector found on the left side of the engine bay when viewed from the front, near the cabin radiator hoses. Then, move symmetrically to the other side of the gearbox where the bulb is located. Take care with the O-ring seal during installation. by ScegliAuto More videos
|
|
For advertising on this site Write to info@scegliauto.com
ScegliAuto is not responsible for any inaccuracy of the data in the lists. To report any inaccuracy or your business (if you own the business in question), please write to info@scegliauto.com
Number of seconds to generate the page: 0.162
(c) ScegliAuto 2026 - info@scegliauto.com - Privacy policy VAT number: IT01247470535 |