
|
Do it yourself
| |||
| ||||


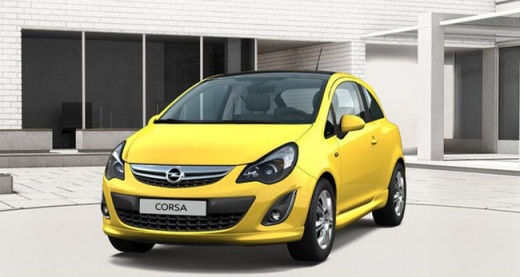
How to Replace the Upper Radiator Hose of the Opel Corsa 1.3 Multijet
Model: Vauxhall Corsa
Corsa D
- Years:
2006, 2007, 2008, 2009, 2010, 2011, 2012, 2013, 2014
Video tutorial
To replace the upper radiator hose of the Opel Corsa, start by unscrewing the screw that holds the coolant reservoir and move it to one side; once the reservoir is moved, locate the hose to be replaced, unclip the hose clamp on the hose (removing any clips if necessary) and also unclip it from the thermostat side (again, removing any clips if necessary); now take the new hose, position it first on the thermostat side (inserting and securing it with any clips) and then insert the hose (taking care with the guides on the hose and thermostat) until you hear it click into place (also insert any clips that were there before), replace the coolant reservoir and pour in the new coolant.
Updated on 14 August 2026 by ScegliAuto
Related tutorials
Vauxhall Corsa
(2006-2014 /
Corsa D)
In this video, you will see how to replace the coolant flange on the Opel Corsa D. Always disconnect the battery before any operation. Now you can st…

Vauxhall Corsa
(2006-2014 /
Corsa D)
To replace the intake manifold on the Opel Corsa 1.3 MultiJet, you must first remove some obstructing parts for easier access: the components to be r…

Vauxhall Corsa
(2000-2006 /
Corsa C)
Replacing the fuel filter on an Opel Corsa C is a straightforward task. After obtaining the replacement part, clean the surface of the filter, discon…
Other guides you may be interested in
|
How to Remove the Rear Seat of a Hyundai Tucson?
To remove the rear seat of a Hyundai Tucson, follow these steps. Start by moving the front seats to their most forward position to gain space. Next, locate the release lever on the underside of the rear seat, near the floor. Press this lever down while pulling the seat upwards to unlock it from the anchor pins. Once unlocked, tilt the seat upwards and forwards to remove it from its position. Repeat this process for both sides of the rear seat. Be careful of any electrical cables or components that may be connected to the seat during removal. Once the rear seat is removed, the disassembly is complete. by ScegliAuto More videos
|
|
For advertising on this site Write to info@scegliauto.com
ScegliAuto is not responsible for any inaccuracy of the data in the lists. To report any inaccuracy or your business (if you own the business in question), please write to info@scegliauto.com
Number of seconds to generate the page: 0.022
(c) ScegliAuto 2026 - info@scegliauto.com - Privacy policy VAT number: IT01247470535 |
