
|
Do it yourself
| |||
| ||||


How to Replace the Timing Belt on an Opel Astra 1.8 16V
Model: Vauxhall Astra
Astra G
- Years 1998-2006
To replace the timing belt on the Opel Astra with a 1.8 16v engine (engine code: C18XE), the operation is performed with the engine removed from the car in the video. The continental CT870 WP2 kit and the V04 toolbox are used; start by setting the engine timing, aligning the crankshaft pulley with the marking and rotating the camshaft until it aligns as well. There is a notch on the crankshaft pulley that must align with the pin behind it (rotate the engine slowly). For the camshafts, there are two markings on each toothed wheel (inlet and outlet); for the left wheel, align the inlet notch with the upper marking, and for the right wheel, align the outlet notch with the upper marking; when they align, secure them with the locking tool marked "top". After removing the crankshaft pulley, check the rubber track; loosen the timing belt on the tensioner to remove it and disassemble the other components. When reinstalling the water pump, ensure the notch and the boss on the pump align. Use only the supplied gasket for the water pump without additional paste, as it may detach and clog the circuit; pour only new fluid and perform a circuit flush. For the tensioner roller, pay attention to the position (the roller has a boss that must fit into the notch on the engine); position the timing belt starting from the crankshaft in a clockwise direction following the transmission path, ending on the idler pulley. Be careful with the roller, tighten the Allen bolt counterclockwise, and secure the roller until the indicator aligns with the edge. The belt at the top will be slightly loose, as the shafts are unloaded and have dropped slightly, making it impossible to remove the locking tool; as soon as you manually rotate the engine, the shafts extend, allowing you to remove the locking tool and manually turn the engine forward two full turns, readjusting the timing and noticing that the belt tightens. Initially, we applied too much tension to the belt, so rotate the roller counterclockwise with the Allen key until the indicator coincides with the "new" marking, then turn the engine forward and remove the locking tool; finally, recheck the timing, the tensioner roller, and finish reassembling everything.
Updated on 19 August 2026 by ScegliAuto
Video tutorial
Related tutorials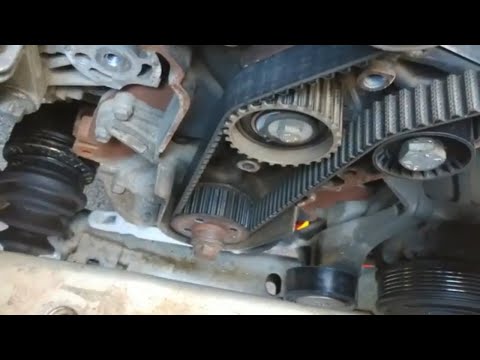
Vauxhall Astra
(2004-2010 /
Astra H)
In this guide, follow the main steps to remove and replace the timing belt on the Opel Astra H 1.9 CDTI, following the instructions below. First, lif…
Vauxhall Astra
(2004-2010 /
Astra H)
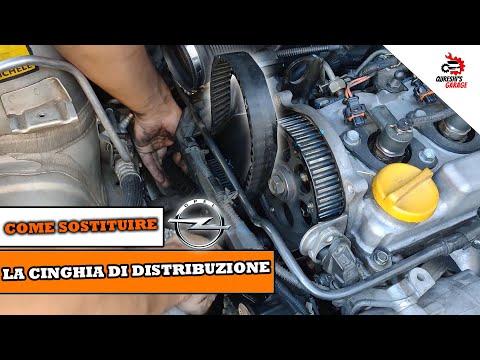
In today's video, see how to replace the timing belt on the Opel Astra H. You can purchase the specific replacement part from major auto parts websit…
Vauxhall Astra
(1998-2006 /
Astra G)
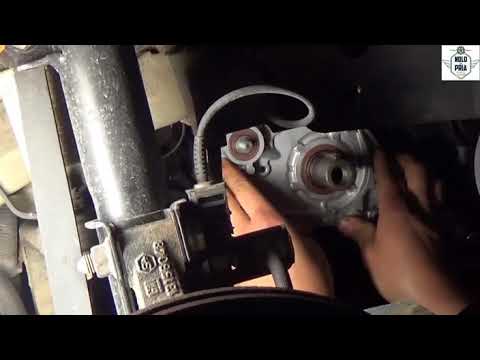
In this video tutorial, see how to replace the timing belt on an Opel Astra by following simple steps: First, lift the bonnet and secure it with the …
Other guides you may be interested in
|
Frequently Asked QuestionsHow to Connect the Cables to the Battery of the Citroen Xsara Picasso?
In this tutorial, you will see how to connect the cables to the battery of the Citroen Xsara Picasso, useful if you need to recharge it or perform an emergency start. First, ensure the key is not inserted, then open the bonnet and move to the front of the left headlamp. Next, locate the bolt just behind the filter box and connect the positive terminal clamp to it. Now you can connect the negative terminal to any point on the chassis, such as the indicated point. Once the operation is complete, ensure you disconnect the negative first and then the positive. by ScegliAuto More videos
|
|
For advertising on this site Write to info@scegliauto.com
ScegliAuto is not responsible for any inaccuracy of the data in the lists. To report any inaccuracy or your business (if you own the business in question), please write to info@scegliauto.com
Number of seconds to generate the page: 0.253
(c) ScegliAuto 2026 - info@scegliauto.com - Privacy policy VAT number: IT01247470535 |
