
|
Do it yourself
| |||
| ||||


How to Replace the Timing Belt on the Opel Astra H 1.9 CDTI
Model: Vauxhall Astra
Astra H
- Years 2004-2010
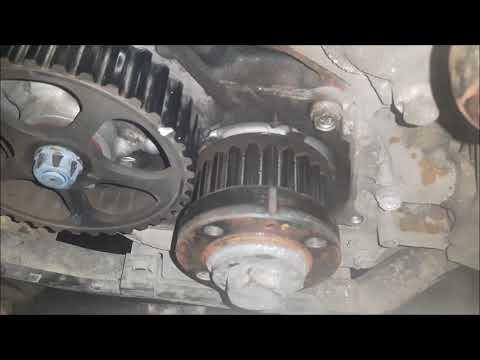
In this guide, follow the main steps to remove and replace the timing belt on the Opel Astra H 1.9 CDTI, following the instructions below. First, lift the engine from underneath; then open the bonnet and remove the air filter box along with the intake hose, as shown in the video. Next, remove the engine mount on the timing side and take off the drive belt; then also remove the crankshaft pulley to proceed with the removal and replacement of the timing belt.
Updated on 26 April 2026 by ScegliAuto
Video tutorial
Related tutorials
Vauxhall Astra
(2009-2016 /
Astra J)
In this guide, we will see information regarding the disassembly and replacement of the timing belt of the Opel Astra 2.0 CDTi. On this type of engin…
Vauxhall Astra
(2009-2016 /
Astra J)
To replace the timing belt on the Opel Astra J 1.7 CDTI, you must remove the front right wheel and the corresponding wheel arch cover to access the p…

Vauxhall Astra
(2009-2016 /
Astra J)
The timing belt on the Opel Astra J, like any other vehicle, is subject to wear and should be replaced at specified mileage intervals or within a def…
Other guides you may be interested in
|
Frequently Asked QuestionsHow to Bleed the Clutch on a Renault Clio?
To bleed the clutch on a Renault Clio, open the bonnet to access the components located in the engine bay: here, you will need to undo the screws that secure the battery in its housing, the intake manifold, and the coolant reservoir. This will allow you to locate the pipe through which the brake fluid flows: by inserting the other end of the pipe into a container, you can press the clutch pedal to expel all the fluid until it fills the container. by ScegliAuto More videos
|
|
For advertising on this site Write to info@scegliauto.com
ScegliAuto is not responsible for any inaccuracy of the data in the lists. To report any inaccuracy or your business (if you own the business in question), please write to info@scegliauto.com
Number of seconds to generate the page: 0.576
(c) ScegliAuto 2026 - info@scegliauto.com - Privacy policy VAT number: IT01247470535 |
