
|
Do it yourself
| |||
| ||||



Guide to replacing the timing belt of the Opel Astra 2.0 CDTi
Model: Vauxhall Astra
Astra J
- Years:
2009, 2010, 2011, 2012, 2013, 2014, 2015, 2016
Video tutorial
In this guide, we will see information regarding the disassembly and replacement of the timing belt of the Opel Astra 2.0 CDTi. On this type of engine, the timing belt should generally be replaced every 150,000 kilometers, but it is advisable to perform a visual check before reaching this mileage (the interval may also vary depending on driving conditions over time). In order to carry out the disassembly and replacement, it will be necessary to remove the distribution cover and take the necessary references, also replacing the water pump kit if necessary.
Posted on 31 March 2025 by ScegliAuto
Related tutorials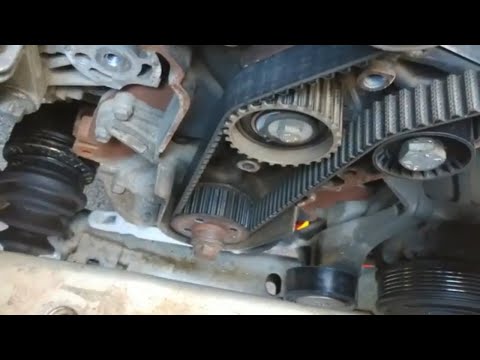
Vauxhall Astra
(2004-2010 /
Astra H)
In this guide, follow the main steps to remove and replace the timing belt on the Opel Astra H 1.9 CDTI, following the instructions below. First, lif…
Vauxhall Astra
(2009-2016 /
Astra J)
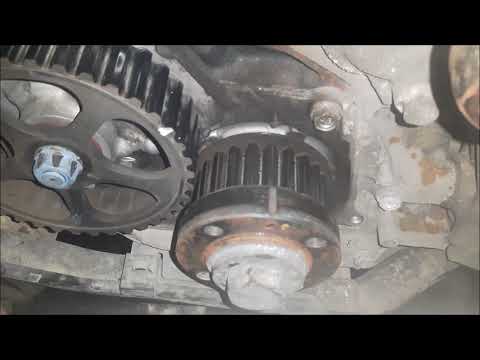
To replace the timing belt on the Opel Astra J 1.7 CDTI, you must remove the front right wheel and the corresponding wheel arch cover to access the p…

Vauxhall Astra
(2009-2016 /
Astra J)
The timing belt on the Opel Astra J, like any other vehicle, is subject to wear and should be replaced at specified mileage intervals or within a def…
Other guides you may be interested in
|
Frequently Asked QuestionsHow to Remove the Rear Seat of a Hyundai Tucson?
To remove the rear seat of a Hyundai Tucson, follow these steps. Start by moving the front seats to their most forward position to gain space. Next, locate the release lever on the underside of the rear seat, near the floor. Press this lever down while pulling the seat upwards to unlock it from the anchor pins. Once unlocked, tilt the seat upwards and forwards to remove it from its position. Repeat this process for both sides of the rear seat. Be careful of any electrical cables or components that may be connected to the seat during removal. Once the rear seat is removed, the disassembly is complete. by ScegliAuto More videos
|
|
For advertising on this site Write to info@scegliauto.com
ScegliAuto is not responsible for any inaccuracy of the data in the lists. To report any inaccuracy or your business (if you own the business in question), please write to info@scegliauto.com
Number of seconds to generate the page: 0.041
(c) ScegliAuto 2026 - info@scegliauto.com - Privacy policy VAT number: IT01247470535 |
