
|
Do it yourself
| |||
| ||||


How to replace the rear brake light bulb of the Opel Zafira
Model: Vauxhall Zafira
Zafira C, MK 3
- Years 2011-2019
To replace the stop light bulb of the right rear headlight, we start by opening the trunk, removing the caps covering the screws with a slotted screwdriver, unscrewing the two screws holding the headlight with a crosshead screwdriver, then applying slight pressure from the outside of the headlight towards the rear to release it from its housing; on the rear side of the headlight, we find 3 bulb holders that need to be unscrewed half a turn to remove them from the headlight assembly, we identify the stop light bulb holder (located at the point of the headlight that extends), unscrew it half a turn and remove it, take the bulb, press and rotate it counterclockwise to remove it (not shown in the video), once the old bulb is removed, take the new bulb, place it on the bulb holder, press and rotate it clockwise to lock it into the bulb holder, insert the bulb holder into its housing and screw it half a turn, reposition the headlight in its housing, screw back the two crosshead screws and reposition the caps covering the screws. Finally, go inside the car, press the brake pedal and check the proper functioning of the bulb.
Posted on 20 April 2024 by ScegliAuto
Video tutorial
Related tutorials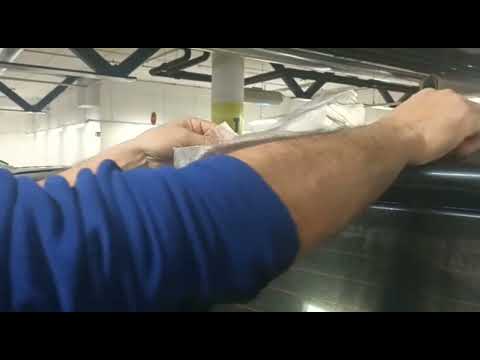
Vauxhall Zafira
(2011-2019 /
Zafira C, MK 3)
Today's guide will show you the steps to remove and replace the third brake light bulb on an Opel Zafira, following the instructions below. First, mo…
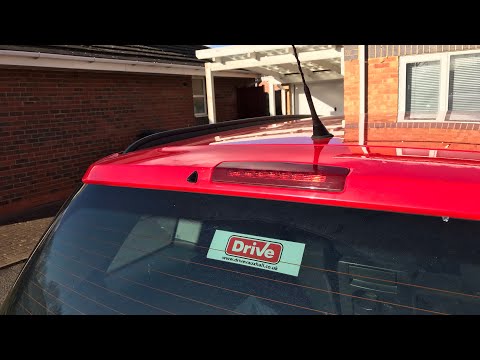
Vauxhall Zafira
(2005-2011 /
Zafira B, A05, MK 2)
Follow these simple steps to remove the third brake light on an Opel Zafira B, second series. First, open the boot and remove the plastic trim locate…
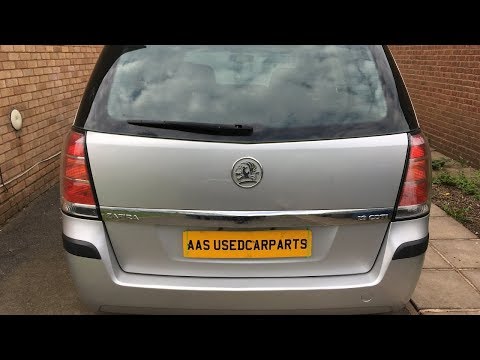
Vauxhall Zafira
(2005-2011 /
Zafira B, A05, MK 2)
Before you start, open the tailgate of the boot on your Opel Zafira. Begin by unscrewing and removing the fixing screws of the rear bumper, located a…
Other guides you may be interested in
|
How to Replace the Battery on a Honda Vision 110
To replace the battery on a Honda Vision 110, you need to remove the front fairing of the motorcycle, located directly under the front headlamp. To loosen this panel, unscrew the two screws found at its top, just below the handlebar. Once these screws are loosened, lever under the panel to detach it, gaining access to the battery underneath: this battery must be removed from its housing by unscrewing the fixing screws and disconnecting the power cables, replacing it with a new one. by ScegliAuto More videos
|
|
For advertising on this site Write to info@scegliauto.com
ScegliAuto is not responsible for any inaccuracy of the data in the lists. To report any inaccuracy or your business (if you own the business in question), please write to info@scegliauto.com
Number of seconds to generate the page: 0.194
(c) ScegliAuto 2026 - info@scegliauto.com - Privacy policy VAT number: IT01247470535 |
