
|
Do it yourself
| |||
| ||||


How to Replace the Standard Radio in the Peugeot 208
Model: Peugeot 208
A9, MK 1
- Years 2012-2019
This guide explains how to remove and replace the standard radio in the Peugeot 208, following the instructions below. First, get inside the vehicle and start by detaching the side plastic cover; then use the appropriate extraction tools to remove the radio from the dashboard, disconnecting the electrical connectors and the antenna cable found at the back, as shown in the video. At this point, unscrew the screws of the radio support, allowing you to install the new Android multimedia system, following the video tutorial to the end!
Updated on 13 June 2026 by ScegliAuto
Video tutorial
Related tutorials
Peugeot 208
(2012-2019 /
A9, MK 1)
The following steps will show us how to disassemble and replace the car radio and multimedia system of the Peugeot 208, as well as the 2008. First, w…
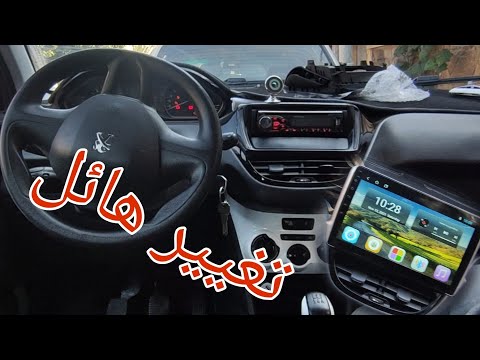
Peugeot 208
(2012-2019 /
A9, MK 1)
In this video tutorial, you will learn how to remove and replace the standard radio in a Peugeot 208, following the instructions provided below. Firs…
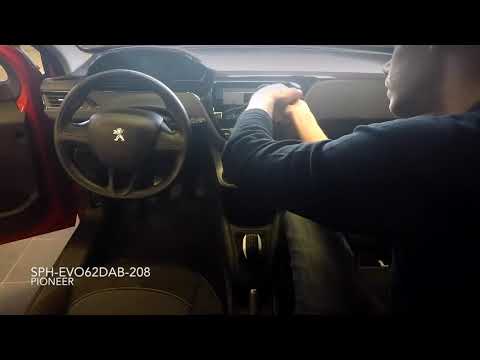
Peugeot 208
(2012-2019 /
A9, MK 1)
Want to replace the non-original car radio in your Peugeot 208? Here’s how to remove the radio from the central dashboard. Insert the keys into the h…
Other guides you may be interested in
|
Frequently Asked QuestionsHow to Remove the Front Bumper of the Citroën C4 Picasso?
To remove the front bumper of the Citroën C4 Picasso, you need to take out all the rivets and screws that secure the piece to its housing: these screws are located inside the wheel arches of the front wheels and at the central upper part of the bumper itself. Once all these fastening elements have been removed, you can detach the bumper from its seat by disconnecting the connectors inside and then insert the new replacement part. The new part can then be secured and connected properly, ensuring it is correctly fixed in place. by ScegliAuto More videos
|
|
For advertising on this site Write to info@scegliauto.com
ScegliAuto is not responsible for any inaccuracy of the data in the lists. To report any inaccuracy or your business (if you own the business in question), please write to info@scegliauto.com
Number of seconds to generate the page: 0.253
(c) ScegliAuto 2026 - info@scegliauto.com - Privacy policy VAT number: IT01247470535 |
