
|
Do it yourself
| |||
| ||||


Replacing Ball Joints on Control Arms
Model: RAM 1500
D1, DM, DC, MK 3, DR, DH
- Years:
2002, 2003, 2004, 2005, 2006, 2007, 2008, 2009
This video is currently unavailable
The front suspension of the vehicle consists of two control arms, one lower and one upper, connected to the hub support via ball joints. Due to the considerable weight of the vehicle, these joints tend to wear out easily and become noisy. You can replace them without removing the entire control arm by using aftermarket ball joints equipped with grease fittings. First, lift the vehicle on a hydraulic lift, remove the front wheel, and the brake caliper with its bracket. Disconnect the speed sensor connector and the brake wear sensor connector. Disconnect the tie rod end from the steering rack and remove the axle, also taking out the brake rotor. At this point, you can free the ball joints from the control arms and replace them with new ones.
Updated on 16 February 2026 by ScegliAuto
Related tutorials
RAM 1500
(1994-2001 /
MK 2, BR, BE)
Replacing the rear shock absorber is a very simple task and does not require special tools (such as spring compressors).
Once you lift the vehicle on…

RAM 1500
(2009-2019 /
DS, DJ, MK 4)
This video presents the procedure necessary to replace the half shaft on a Dodge Ram. As shown in the video, before starting the actual replacement o…

RAM 1500
(2019-2026 /
MK 5, DT)
Let's briefly see how to replace the cabin air filter in a RAM 1500 by following these simple and quick steps. First, get inside the vehicle on the p…
Other guides you may be interested in
|
How to Reset the AdBlue Warning Light on a Peugeot Boxer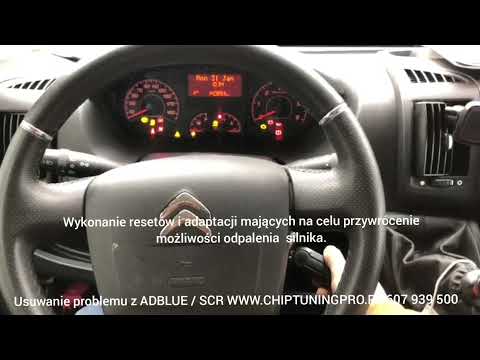
To reset the AdBlue system on a 2018 Peugeot Boxer, follow these steps: Start the engine and ensure the vehicle is parked in a well-ventilated area. Locate the "MENU" button on the dashboard or steering wheel controls. Press and hold the "MENU" button until the menu options appear on the display. Use the arrow buttons or scroll wheel to access the "Vehicle Settings" or "Settings" menu. Select the "AdBlue" or "AdBlue System" option. Look for the "Recharge" or "Reset" option in the AdBlue menu. Once you find the reset option, select it and confirm your choice when prompted. The system will be reset, and a confirmation message may appear on the display. Turn off the engine and wait a few seconds. Restart the engine and check that the AdBlue system has been reset. by ScegliAuto More videos
|
|
For advertising on this site Write to info@scegliauto.com
ScegliAuto is not responsible for any inaccuracy of the data in the lists. To report any inaccuracy or your business (if you own the business in question), please write to info@scegliauto.com
Number of seconds to generate the page: 0.016
(c) ScegliAuto 2026 - info@scegliauto.com - Privacy policy VAT number: IT01247470535 |
