
|
Do it yourself
| |||
| ||||


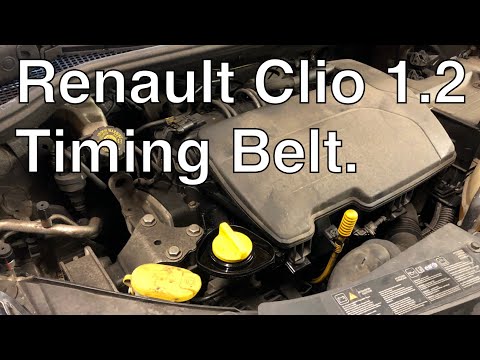
How to Remove the Timing Belt on a Renault Clio
Model: Renault Clio
Clio 2, MK 2
- Years 1998-2005
Follow this video to remove the timing belt and water pump on a Renault Clio. Lift the car on a column lift and remove the undertray located under the vehicle, then disconnect the hose connected to the radiator with pliers. Remove the right wheel splash guard with a screwdriver. Use a fixed spanner to loosen the tensioner pulley and slide the belt off the pulley. With a socket spanner, unscrew the tensioner pulley retaining bolt, and remove the water pump as shown in the video. Fit the new water pump, tensioner, and belt, and tighten everything with the socket spanner. Finally, fit the retaining bolts of the splash guard and reassemble the plastic engine cover.
Updated on 27 February 2026 by ScegliAuto
Video tutorial
Related tutorials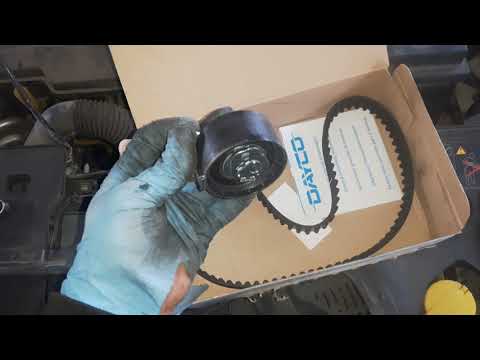
Renault Clio
(2012-2019 /
MK 4, Clio 4, Clio IV)
Today we will discover the instructions that will allow us to dismantle and replace the timing belt of the Renault Clio 1.2 petrol. First, we open th…
Renault Clio
(2005-2013 /
MK 3, Clio 3, Clio III)
The following steps will show us how to disassemble and replace the timing belt of the Renault Clio 1.2 petrol. First, we lift the vehicle and begin …

Renault Clio
(2012-2019 /
MK 4, Clio 4, Clio IV)
The timing belt of the Renault Clio 4 must be replaced every 6 years or when it reaches 120,000 km as indicated by the manufacturer. To perform the r…
Other guides you may be interested in
|
How to Remove the Air Fan from a Nissan Juke
Learn how to remove the air fan from a Nissan Juke. Open the glove compartment and disconnect the end stop brackets, then unscrew the securing screws with a screwdriver. Unscrew the side screws in the glove compartment and remove the plastic door. Unscrew the screws again, and after disconnecting the power wires, pull the glove compartment out from the dashboard. Remove the fan after disconnecting the power wires. Clean the fan as necessary (disassemble the fan and its parts). Finally, reinstall the previously removed fan (new fan) and all its components under the glove compartment. by ScegliAuto More videos
|
|
For advertising on this site Write to info@scegliauto.com
ScegliAuto is not responsible for any inaccuracy of the data in the lists. To report any inaccuracy or your business (if you own the business in question), please write to info@scegliauto.com
Number of seconds to generate the page: 0.083
(c) ScegliAuto 2026 - info@scegliauto.com - Privacy policy VAT number: IT01247470535 |