
|
Do it yourself
| |||
| ||||


Fuses Location and Wiring Diagram for the Renault Clio II
Model: Renault Clio
MK 2, Clio 2
- Years:
1998, 1999, 2000, 2001, 2002, 2003, 2004, 2005
Video tutorial
In this video, you can see the layout of the fuse boxes for the Renault Clio II: the first box is located in the thickness of the dashboard, in contact with the driver's door. To open it, use the small handle, and to identify the fuses, refer to the mirror assignment sticker located on the cover. There are also two fuse boxes located in the engine bay, to the right of the starter battery: number 1 is the lower one, while number 2 is positioned higher. This distinction is very important for correctly identifying the fuse you are looking for.
Updated on 4 November 2026 by ScegliAuto
Related tutorials
Renault Clio
(2019-2026 /
Clio V, Clio 5)
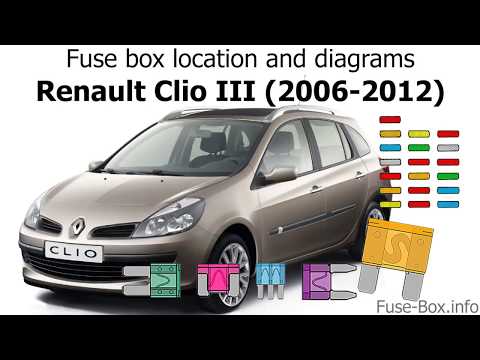
Today’s information will help you locate the positioning and layout of the internal fuses for the Renault Clio. First, open the driver’s side front p…
Renault Clio
(2005-2013 /
Clio 3, MK 3, Clio III)
The attached video shows the complete fuse diagram for our Renault Clio. The fuses protect the electrical components of our van from short circuits a…

Renault Clio
(2005-2013 /
Clio 3, MK 3, Clio III)
This guide briefly outlines how to locate the fuse boxes and their diagram for the Renault Clio. First, get inside the vehicle and locate the interna…
Other guides you may be interested in
|
Frequently Asked QuestionsHow to Remove the Toll Tag Holder from the Car Windscreen
The toll tag holder is usually attached to the car windscreen to ensure that the toll tag functions immediately when passing through barriers. However, if you decide to remove the holder, you should follow this procedure: - Insert the toll tag into the holder; - Pull the holder inwards to detach it from the windscreen; you can use a glass scraper or a stiff plastic card to assist you; After removing the holder, it is essential to remove the adhesive from the windscreen. To remove the adhesive, we recommend using a solvent-based spray that will remove the glue without clouding the area. by ScegliAuto More videos
|
|
For advertising on this site Write to info@scegliauto.com
ScegliAuto is not responsible for any inaccuracy of the data in the lists. To report any inaccuracy or your business (if you own the business in question), please write to info@scegliauto.com
Number of seconds to generate the page: 0.152
(c) ScegliAuto 2026 - info@scegliauto.com - Privacy policy VAT number: IT01247470535 |
