
|
Do it yourself
| |||
| ||||


How to adjust the parking brake of the Renault Laguna
Model: Renault Laguna
MK 2, X74, Laguna 2
- Years:
2001, 2002, 2003, 2004, 2005, 2006, 2007
Video tutorial
Today we will discover the instructions necessary to adjust the handbrake lever travel of the Renault Laguna. First of all, we get into the cockpit and start by unscrewing the side screws found on the central tunnel, in order to remove it and access the handbrake lever adjustment register; then we use a star wrench to tighten or loosen the register to tighten or loosen the handbrake cable, as shown in the video. At this point, we carry out various tests until we achieve the optimal result; to perform a correct adjustment, it is necessary that the rear brake pads are in good condition.
Posted on 10 December 2024 by ScegliAuto
Related tutorials
Renault Laguna
(2007-2015 /
MK III, X91, Laguna III, MK 3, Laguna 3)
To adjust the handbrake of the Renault Laguna, you need to loosen the screws that secure the trim panel in the rear of the central tunnel: in order t…
Renault Laguna
(2001-2007 /
MK 2, X74, Laguna 2)
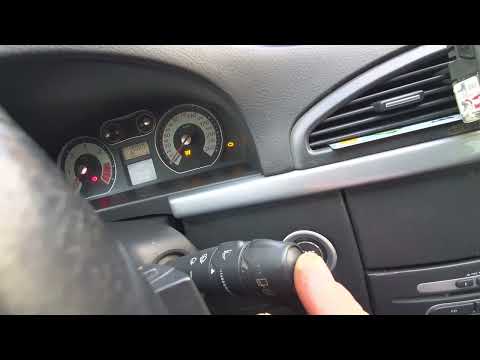
To reset the Service light on a Renault Laguna, turn on the instrument panel by pressing the ignition button and inserting the key into the ignition …

Renault Laguna
(2007-2015 /
MK III, X91, Laguna III, MK 3, Laguna 3)
The clock of the Renault Laguna can be adjusted by turning on the instrument panel after inserting the ignition key into the corresponding slot: once…
Other guides you may be interested in
|
How to Remove the Toll Tag Holder from the Car Windscreen
The toll tag holder is usually attached to the car windscreen to ensure that the toll tag functions immediately when passing through barriers. However, if you decide to remove the holder, you should follow this procedure: - Insert the toll tag into the holder; - Pull the holder inwards to detach it from the windscreen; you can use a glass scraper or a stiff plastic card to assist you; After removing the holder, it is essential to remove the adhesive from the windscreen. To remove the adhesive, we recommend using a solvent-based spray that will remove the glue without clouding the area. by ScegliAuto More videos
|
|
For advertising on this site Write to info@scegliauto.com
ScegliAuto is not responsible for any inaccuracy of the data in the lists. To report any inaccuracy or your business (if you own the business in question), please write to info@scegliauto.com
Number of seconds to generate the page: 0.033
(c) ScegliAuto 2026 - info@scegliauto.com - Privacy policy VAT number: IT01247470535 |
