
|
Do it yourself
| |||
| ||||


How do you reset the Service light on the Renault Megane?
Model: Renault Megane
Megane 4, Megane IV
- Years 2015-2023
The Service light that appears on the instrument panel of the Renault Megane can be reset by turning on the instrument panel and navigating through the menu that appears on the display using the directional arrows on the right side of the steering wheel. You will need to select the "Service intervals" option using the OK button located on the right side of the steering wheel. A message will appear indicating the kilometers remaining until the next oil change and the kilometers remaining until the next service. By holding down the OK button on each of these options, they will start flashing until the remaining kilometers increase for both, resetting the light.
Posted on 11 June 2025 by ScegliAuto
Video tutorial
Related tutorials
Renault Megane
(2015-2023 /
Megane 4, Megane IV)
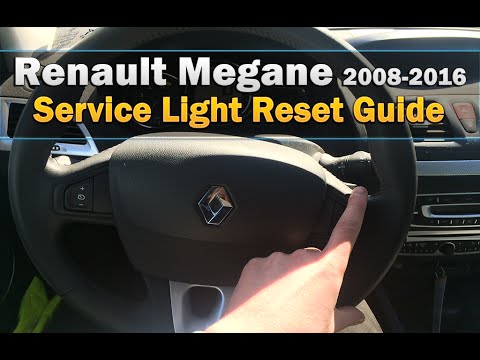
The method to reset the service light on a Renault Megane, specifically the Renault Megane 3, is explained here: Switch on the instrument cluster. Us…
Renault Megane
(2008-2015 /
Megane III, Megane 3)
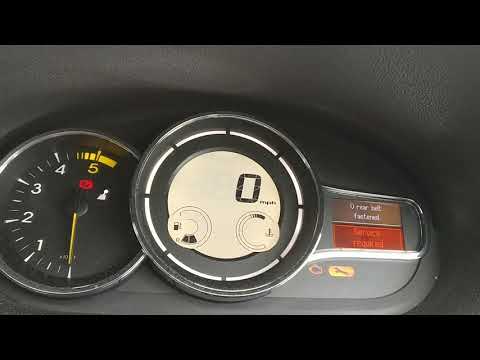
To reset the Service light on the Renault Megane, turn on the ignition by inserting the key and pressing the appropriate button. Once the instrument …
Renault Megane
(2015-2023 /
Megane 4, Megane IV)
To reset the Service light on a Renault Megane, insert the ignition key to turn on the instrument cluster, noting that the Service light will appear.…
Other guides you may be interested in
|
Frequently Asked QuestionsHow to Replace the Remote Battery for the Volvo XC40?
In this tutorial, you will see how to replace the battery in the remote for the Volvo XC40, a very simple and quick operation. For this, you will need a replacement battery of type CR2032 and possibly a small flathead screwdriver. First, remove the front cover by pressing the button on the metal ring, then locate the second button, press it as well, and remove the opposite cover. Next, open the circular cap, take out the old battery, and insert the new one in the opposite direction. Finally, reassemble everything. by ScegliAuto More videos
|

|
For advertising on this site Write to info@scegliauto.com
ScegliAuto is not responsible for any inaccuracy of the data in the lists. To report any inaccuracy or your business (if you own the business in question), please write to info@scegliauto.com
Number of seconds to generate the page: 0.862
(c) ScegliAuto 2026 - info@scegliauto.com - Privacy policy VAT number: IT01247470535 |
