
|
Do it yourself
| |||
| ||||


How to replace the turn signal switch on the Renault Kangoo MK1
Model: Renault Kangoo
MK 1, KC, KW
- Years 1997-2008
Before starting this operation, it is prudent to disconnect the negative terminal of the battery to avoid accidental airbag deployment; after which we must wait at least 15 minutes to allow the capacitors to discharge completely. Now we rotate the steering wheel 90° to access the two rear holes (one on the right and one on the left), lift the airbag, and carefully disconnect the connectors located at the back. In the center of the steering wheel, there is a large T50 Torx bolt. Before removing it, we mark the orientation of the steering wheel with a marker, then unscrew it. Now we see the upper cover of the steering column; we unscrew the three screws and the small cross screw that secures the turn signal body to the column. We disconnect the electrical connectors and remove the turn signal. We can find the new part on Amazon with the code B0FH95TPJD at a price of €26.73, with free delivery. We place it in its seat, reinsert its securing screw, reattach the column cover with the three Torx screws, reassemble the steering wheel and the airbag, and reconnect the negative terminal of the battery.
Posted on 23 January 2026 by ScegliAuto
Video tutorial
Related tutorials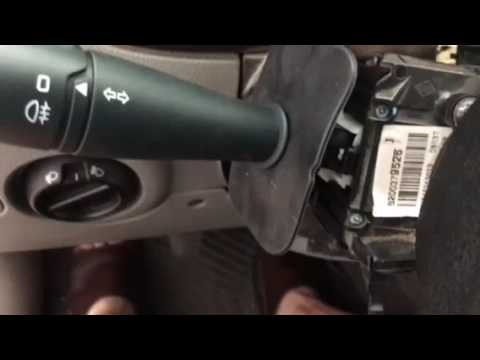
Renault Kangoo
(2007-2021 /
MK 2, FC, FW)
This video demonstrates how to replace the light switch lever on a Renault Kangoo. First, remove the cover located on the steering wheel: it’s not di…

Renault Kangoo
(2007-2021 /
MK 2, FC, FW)
Today, we will discover the instructions that will allow us to remove and replace the rear light bulbs of the Renault Kangoo. First, open the rear do…
Renault Kangoo
(1997-2008 /
MK 1, KC, KW)
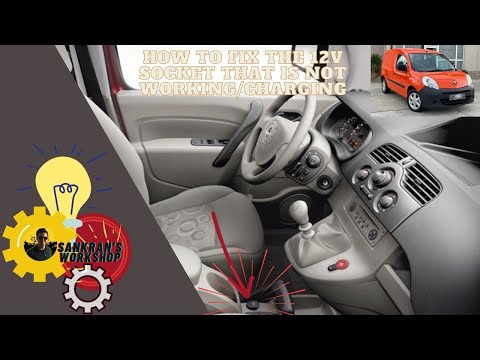
If the cigarette lighter in the Renault Kangoo suddenly stops working, first check the status of the respective fuses, whose location is indicated in…
Other guides you may be interested in
|
How to Open the Bonnet on the Lancia Y
To open the bonnet on this vehicle, follow these simple instructions: first, open the driver's door and locate the lever positioned just below the dashboard, marked with an image of the vehicle with the bonnet open. Pull this lever towards you until you hear a "click" indicating the bonnet is released. Next, exit the cabin and stand in front of the bonnet to disengage the safety catch and complete the opening. To do this, slightly lift the bonnet, locate the yellow lever underneath, and pull it to the left to fully release and open the bonnet. by ScegliAuto More videos
|
|
For advertising on this site Write to info@scegliauto.com
ScegliAuto is not responsible for any inaccuracy of the data in the lists. To report any inaccuracy or your business (if you own the business in question), please write to info@scegliauto.com
Number of seconds to generate the page: 0.421
(c) ScegliAuto 2026 - info@scegliauto.com - Privacy policy VAT number: IT01247470535 |
