
|
Do it yourself
| |||
| ||||


Fuse Diagram for Renault Clio 3
Model: Renault Clio
Clio 3, MK 3, Clio III
- Years:
2005, 2006, 2007, 2008, 2009, 2010, 2011, 2012, 2013
Video tutorial
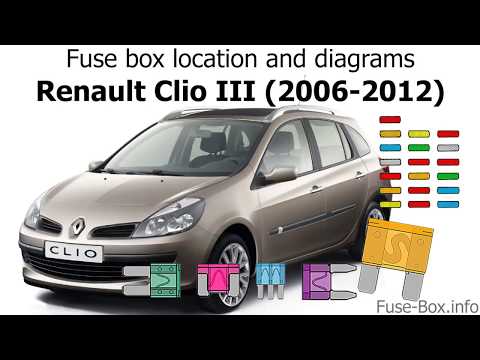
Today, locate the fuse box in a Renault Clio Series 3. Once inside the vehicle, first remove the cover located at the bottom of the dashboard, directly under the steering wheel. After identifying it, take it off and you will immediately see the fuse box. With some attention to the cover you just removed, as shown in the video, you will find a small diagram indicating the fuses, making it easier to identify your issue. Once you have replaced the blown fuse, simply refit the cover and turn on the instrument panel to verify that the operation was successful.
Updated on 30 April 2026 by ScegliAuto
Related tutorials
Renault Clio
(2005-2013 /
Clio 3, MK 3, Clio III)
Today's information will allow us to identify the positioning and layout of the internal fuse box of the Renault Clio. First, we get into the car, on…
Renault Clio
(2005-2013 /
Clio 3, MK 3, Clio III)
The attached video shows the complete fuse diagram for our Renault Clio. The fuses protect the electrical components of our van from short circuits a…

Renault Clio
(2012-2019 /
Clio IV, Clio 4, MK 4)
The video below illustrates the diagram of the fuse boxes of the Renault Clio MK4. The diagram is useful in case the car has electrical problems rela…
Other guides you may be interested in
|
Frequently Asked QuestionsHow to Remove the Rear Seat of a Hyundai Tucson?
To remove the rear seat of a Hyundai Tucson, follow these steps. Start by moving the front seats to their most forward position to gain space. Next, locate the release lever on the underside of the rear seat, near the floor. Press this lever down while pulling the seat upwards to unlock it from the anchor pins. Once unlocked, tilt the seat upwards and forwards to remove it from its position. Repeat this process for both sides of the rear seat. Be careful of any electrical cables or components that may be connected to the seat during removal. Once the rear seat is removed, the disassembly is complete. by ScegliAuto More videos
|
|
For advertising on this site Write to info@scegliauto.com
ScegliAuto is not responsible for any inaccuracy of the data in the lists. To report any inaccuracy or your business (if you own the business in question), please write to info@scegliauto.com
Number of seconds to generate the page: 0.128
(c) ScegliAuto 2026 - info@scegliauto.com - Privacy policy VAT number: IT01247470535 |
