
|
Do it yourself
| |||
| ||||


How to Identify the Fuse Boxes in a Renault Master III and Their Schematics
Model: Renault Master
MK 3
- Years:
2010, 2011, 2012, 2013, 2014, 2015, 2016, 2017, 2018, 2019, 2020, 2021
Video tutorial
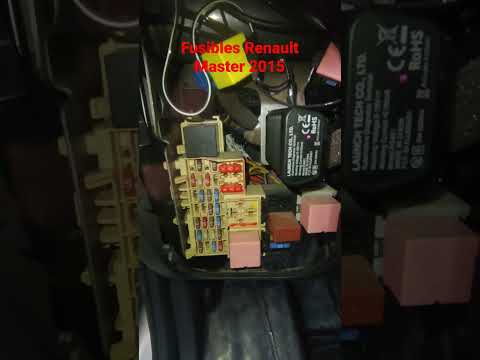
In this video tutorial, you will learn how to identify the locations of the fuse boxes in a Renault Master III and their corresponding assignment schematics. The first fuse box can be found in the engine bay, where you will find several modules: fan speed, air conditioning, condenser, heated windscreen, electric door supply, emergency stop, rear door lock, power circuits, starter, and starting system. The second fuse box can be found in the passenger compartment, under the dashboard behind the protective cover; this first box contains fuses assigned to: alarm, impact sensor, reserve, main and dipped beam headlights left and right, stop and reverse lights, instrument panel, windscreen wiper motor, central locking, headlight washer, onboard diagnostics connector OB02, heated seats, engine stop solenoid, heating system, injection system, windscreen washer, audio system, cigarette lighter, etc.
Updated on 19 July 2026 by ScegliAuto
Related tutorials
Renault Master
(2010-2023 /
MK 3)
In this video, you can see the location of the fuse boxes of the Renault Master van and their corresponding diagrams, useful if you need to check the…
Renault Master
(2010-2023 /
MK 3)
The 2015 Renault Master has two fuse boxes. The first fuse box is located inside the cabin, specifically behind the driver's glove compartment. The s…

Renault Master
(2010-2023 /
MK 3)
Inside the Renault Master MK3 model, two fuse boxes are installed. The first fuse box is located inside the front hood, specifically next to the batt…
Other guides you may be interested in
|
How to Extract the Spare Wheel from a Mercedes Vito
The spare wheel of a Mercedes Vito is located underneath the vehicle, just below the rear boot. This video demonstrates how to extract the wheel from its compartment. First, open the boot and locate the tools provided with the vehicle to release the wheel; these can be found in a compartment on the right side of the boot. As shown in the video, use the supplied screwdriver to remove the cover cap from the hole where you will insert the socket spanner; this hole is located beneath the rubber seal above the rear bumper. Insert the spanner and attach the extension to allow you to turn it and lower the wheel from under the floor. Finally, detach the pin that allowed the wheel to lower and proceed to extract it from under the vehicle. by ScegliAuto More videos
|
For advertising on this site Write to info@scegliauto.com
ScegliAuto is not responsible for any inaccuracy of the data in the lists. To report any inaccuracy or your business (if you own the business in question), please write to info@scegliauto.com
Number of seconds to generate the page: 0.274
(c) ScegliAuto 2026 - info@scegliauto.com - Privacy policy VAT number: IT01247470535 |
