
|
Do it yourself
| |||
| ||||


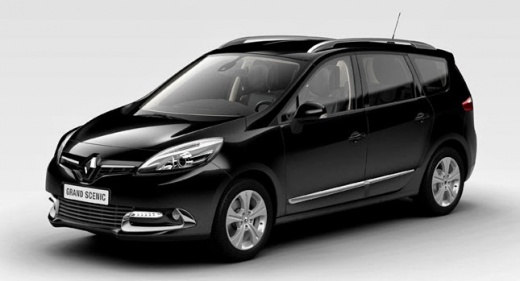
Overview of Renault Scenic fuses.
Model: Renault Scenic
MK III, Scenic III, Scenic 3, MK 3
- Years 2009-2015
On this model of car from the French manufacturer, all the protective fuses are collected inside two boxes located respectively in the engine compartment on the left side and in the cabin also on the left side, in the lower part of the driver's side dashboard. Specifically, the fuse for the cigarette lighter or power outlet is marked with number 17 and is located in the box in the cabin. In this box, among others, there are fuses for the electric windows, turn signals, navigation system, ABS control unit, electric exterior mirrors, radio, and brake lights.
Posted on 20 May 2023 by ScegliAuto
Video tutorial
Related tutorials
Renault Scenic
(2009-2015 /
MK III, Scenic III, Scenic 3, MK 3)
The Renault Scenic 3 has four fuse boxes inside. The first three fuse boxes are mounted inside the front hood, specifically the first fuse box is loc…

Renault Scenic
(2016-2022 /
MK IV, MK 4, Scenic IV, Scenic 4)
Today's guide will show you the diagram and placement of the fuse boxes for the Renault Scenic in simple and quick steps. First, open the driver's si…
Renault Scenic
(2016-2022 /
MK IV, MK 4, Scenic IV, Scenic 4)
We will see below the instructions which will allow us to find out the location and the fuse diagram on the Renault Scenic. First of all, we open the…
Other guides you may be interested in
|
Frequently Asked QuestionsHow to Replace the Rear Door Lock on an Audi A4
First, disconnect the negative cable from the battery. Now, open the door in question and lift the chrome strip at the top. Then, remove all the screws indicated in the video. You can now lift the door panel by pulling it towards you. Disconnect the connectors at the back and remove the panel. Next, you will need to remove the components shown in the video. Also, detach the weatherstrip around the door and the protective sheet. You will also need to remove the window glass by disconnecting all the connectors and bolts. Then, replace the damaged part and retrace the steps described in reverse. by ScegliAuto More videos
|
|
For advertising on this site Write to info@scegliauto.com
ScegliAuto is not responsible for any inaccuracy of the data in the lists. To report any inaccuracy or your business (if you own the business in question), please write to info@scegliauto.com
Number of seconds to generate the page: 0.095
(c) ScegliAuto 2026 - info@scegliauto.com - Privacy policy VAT number: IT01247470535 |