
|
Do it yourself
| |||
| ||||


Defective MAP sensor on a Renault Clio IV
Model: Renault Clio
Clio IV, MK 4, Clio 4
- Years 2012-2019
In this video we can see that the MAP sensor of this Renault Clio IV was defective, as it was measuring 40°C when the data was clearly incorrect. Unfortunately, reaching this sensor is not easy, we have to remove the intake pipe coming from the throttle body, and there is no space here to work on it. Finally, we found the sensor and identified its code number which is 0281006029; we disconnect the electrical connector, and keep in mind that if the sensor does not work, the throttle body will not work either. Now the work continues with a multimeter and the functionality of the various sensor pins is verified, and the result is that the sensor does not work, so we have to replace it. However, reading the data on the EOBD port, we have no codes stored, so perhaps the fault is also on the other sensor, the one with the code 0291002997. Instead, this sensor works normally. The sensor to be replaced, given the code indication, can be easily found on any e-commerce spare parts website, even used and at a good price.
Posted on 25 June 2024 by ScegliAuto
Video tutorial
Related tutorials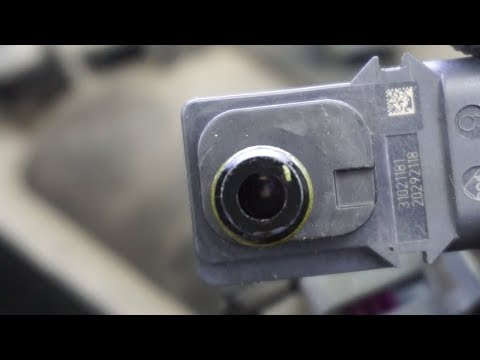
Renault Clio
(2005-2013 /
MK 3, Clio 3, Clio III)
Here are the instructions to clean the mass air flow sensor on the Renault Clio. First, open the bonnet of the vehicle and begin removing the mass ai…

Renault Clio
(2012-2019 /
Clio IV, MK 4, Clio 4)
When the vehicle struggles to start when cold, the main cause is the malfunction of the camshaft sensor, which needs to be replaced. The camshaft sen…

Renault Clio
(1998-2005 /
Clio 2, MK 2)
In this video we can see where the speed sensor is located in the Renault Clio and how to proceed in case we need to replace it, a very simple and qu…
Other guides you may be interested in
|
Frequently Asked QuestionsHow to Repair the Key Spring of the Peugeot 207?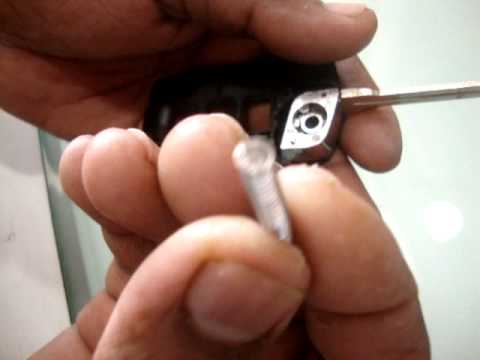
Over time, frequent use of the key's flip mechanism in the vehicle, dozens of times a day, inevitably leads to wear of the internal spring. As shown in this video, replacing the spring is quite simple and takes little time. After opening the casing halfway, first position the key, then the spring housing, and finally insert the spring into the previously mentioned housing. Close the casing by rotating it clockwise, ensuring all components fit perfectly, and test the key's flip mechanism. by ScegliAuto More videos
|

|
For advertising on this site Write to info@scegliauto.com
ScegliAuto is not responsible for any inaccuracy of the data in the lists. To report any inaccuracy or your business (if you own the business in question), please write to info@scegliauto.com
Number of seconds to generate the page: 0.251
(c) ScegliAuto 2026 - info@scegliauto.com - Privacy policy VAT number: IT01247470535 |
