
|
Do it yourself
| |||
| ||||


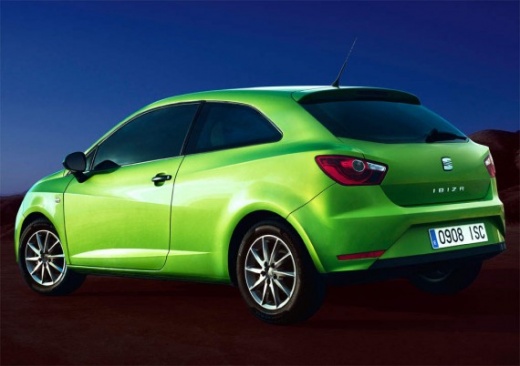
How to Replace Spark Plugs on a Seat Ibiza 6J
Model: Seat Ibiza
6P, 6J
- Years 2008-2017
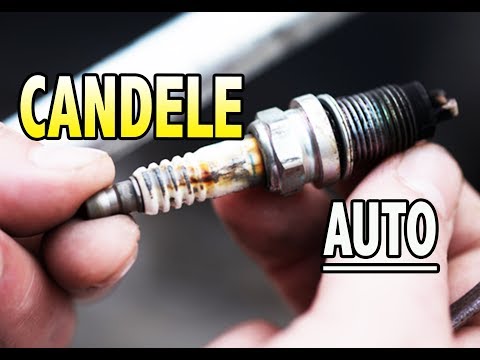
The spark plug replacement procedure described in this video pertains to the 1.2 petrol 3-cylinder engine, and the same process applies to other Volkswagen group vehicles with a similar engine. Start by removing the engine cover, then disconnect the coil connectors (it is not necessary to remove them completely, just ensure there is enough slack in the cables) to extract them. Insert the 16 mm spark plug socket with the rubber insert that holds the spark plug; unscrew it while keeping the socket straight and extract the old plugs. Prepare the new plugs (you can find a kit of 3 NGK on Amazon with code B01BLN7B0G for £27.00 with free delivery) and insert them into the well, hand-tighten to avoid cross-threading, and then tighten with a torque wrench to 28 Nm. Refit the coils, reconnect the connectors, and press the engine cover back into place.
Posted on 27 March 2026 by ScegliAuto
Video tutorial
Related tutorials
Seat Ibiza
(2002-2009 /
6L)
Today's step-by-step instructions will allow us to disassemble and replace the spark plugs of the Seat Ibiza 1.4. First, we open the car's engine hoo…

Seat Ibiza
(2002-2009 /
6L)
Learn how to replace the spark plugs on a Seat Ibiza 6L: open the bonnet and disconnect the PCV valve cable, then remove the engine cover; cover the …
Seat Ibiza
(2002-2009 /
6L)
Want to remove the spark plugs from your Seat Ibiza and don't know how? This video details how to proceed. Pull the bonnet release lever located to t…
Other guides you may be interested in
|
How to replace the horn on a Renault Duster - Dacia Duster
Today's main instructions will show you the procedure for removing and replacing the horn or sound signal on the Renault Duster, as well as the Dacia Duster. First, open the bonnet of the vehicle and start removing the front bumper by unscrewing all the fixing screws; you will find the horn right in front of the radiator, as shown in the video. At this point, disconnect the electrical connector and unscrew the bracket screw to remove and replace the horn with the new one; finally, reassemble the front bumper! by ScegliAuto More videos
|
|
For advertising on this site Write to info@scegliauto.com
ScegliAuto is not responsible for any inaccuracy of the data in the lists. To report any inaccuracy or your business (if you own the business in question), please write to info@scegliauto.com
Number of seconds to generate the page: 0.231
(c) ScegliAuto 2026 - info@scegliauto.com - Privacy policy VAT number: IT01247470535 |
