
|
Do it yourself
| |||
| ||||


Replacing Silentblock Bush on Wishbone
Model: Seat Ibiza
6L
- Years 2002-2009
The failure of the rubber inside the silentblock bush of the suspension wishbone is a common defect, but it is possible to remedy this without replacing the entire wishbone, only the bush (reinforced or silicone versions are also available). To replace the bushes, you will need a puller; start by removing the suspension wishbone by unscrewing the pins of the ball joint connected to the wheel hub and then those securing it to the engine cradle (supporting the vehicle on suitable axle stands). Once the wishbone is removed, use the appropriate puller to remove the bush from the engine cradle and similarly insert the new one, lubricating it to facilitate insertion. After inserting the bush, reassemble the wishbone: it may be useful to use a ratchet strap to insert the wishbone pin into the bush.
Updated on 12 February 2026 by ScegliAuto
Video tutorial
Related tutorials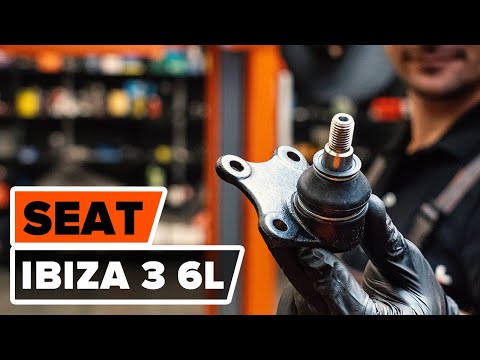
Seat Ibiza
(2002-2009 /
6L)
To replace the wishbone joint on a Seat Ibiza, loosen the bolts securing the wheel and remove it. Next, loosen the bolts connecting the ball joint to…

Seat Ibiza
(2008-2017 /
6P, 6J)
To replace the control arm on the Seat Ibiza, the steps are as follows. First, we need to remove the wheel, the wheel arch liner, and the brake disc …
Seat Ibiza
(1993-2002 /
6K)
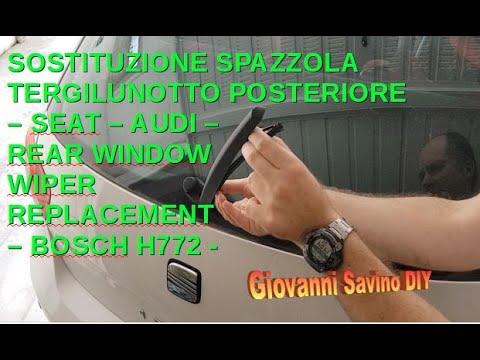
In this tutorial video, you will see how to replace the rear wiper blade on a Seat Ibiza when it is worn. On the back of the new wiper blade box, the…
Other guides you may be interested in
|
How to Adjust the Brightness of the Instrument Cluster on a Peugeot 3008?
To adjust the brightness of the instrument cluster on a Peugeot 3008, you need to turn on the ignition and access the settings via the menu located in the central area of the dashboard. In the screen that appears, select the "Display Configuration" option: now, by selecting the "Brightness" option, you can adjust it using the dedicated slider that will appear on the screen. The adjustment should be made with the headlights on as well as with them off. Once the adjustment is complete, you can turn off the instrument cluster. by ScegliAuto More videos
|
|
For advertising on this site Write to info@scegliauto.com
ScegliAuto is not responsible for any inaccuracy of the data in the lists. To report any inaccuracy or your business (if you own the business in question), please write to info@scegliauto.com
Number of seconds to generate the page: 0.387
(c) ScegliAuto 2026 - info@scegliauto.com - Privacy policy VAT number: IT01247470535 |
