
|
Do it yourself
| |||
| ||||


How to Replace the Electric Window Regulator on the Seat Leon I
Model: Seat Leon
1M
- Years 1999-2005
In this video, see how to replace the electric window regulator on the Seat Leon I; first, remove the door cover. Compare the new part to ensure it is identical, then use an electric drill to make a hole to remove the rivets holding the mechanism. You will likely need to remove some silicone from the panel using a utility knife; the new mechanism will be secured with the components provided in the repair kit, gently pulling on the door panel, starting from the glove compartment and then moving up along the edge. Detach all the various clips holding the panel, then lift it to remove it from the upper hinge. Now access the back of the panel, holding it with one hand while disconnecting the door opening cable; then remove the various connectors for the door panel accessories; a flat screwdriver may be useful for some. Once all connectors are detached, remove the entire panel, disconnect the motor's electrical connector by sliding it down, also disconnect the speaker connector, and remove the two rubber grommets that allow access to the window support.
Updated on 31 August 2026 by ScegliAuto
Video tutorial
Related tutorials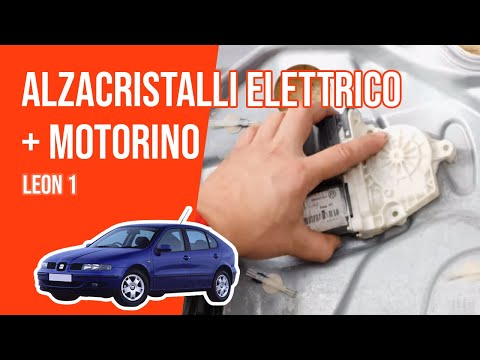
Seat Leon
(2005-2013 /
1P)
In this video, you will see how to replace the electric window regulator on the Seat Leon 1P: you need to remove the inner door panel by taking off t…

Seat Leon
(2005-2013 /
1P)
If one of the window regulators in the Seat Leon stops working, the first thing to do is check the corresponding fuse; this video shows its location.…
Seat Leon
(2012-2019 /
MK 3, 5F)
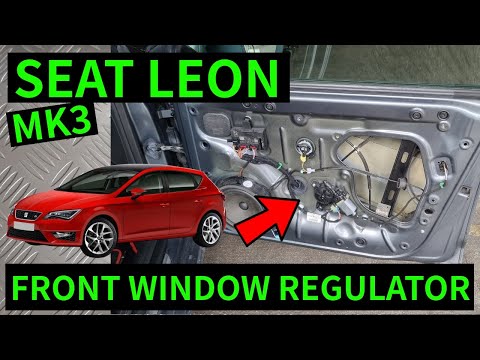
In this tutorial, see how to remove the front window regulator mechanism in the Seat Leon. First, open the relevant door, then unclip the two small i…
Other guides you may be interested in
|
How to Open the Bonnet on the Lancia Y
To open the bonnet on this vehicle, follow these simple instructions: first, open the driver's door and locate the lever positioned just below the dashboard, marked with an image of the vehicle with the bonnet open. Pull this lever towards you until you hear a "click" indicating the bonnet is released. Next, exit the cabin and stand in front of the bonnet to disengage the safety catch and complete the opening. To do this, slightly lift the bonnet, locate the yellow lever underneath, and pull it to the left to fully release and open the bonnet. by ScegliAuto More videos
|
|
For advertising on this site Write to info@scegliauto.com
ScegliAuto is not responsible for any inaccuracy of the data in the lists. To report any inaccuracy or your business (if you own the business in question), please write to info@scegliauto.com
Number of seconds to generate the page: 0.601
(c) ScegliAuto 2026 - info@scegliauto.com - Privacy policy VAT number: IT01247470535 |
