
|
Do it yourself
| |||
| ||||


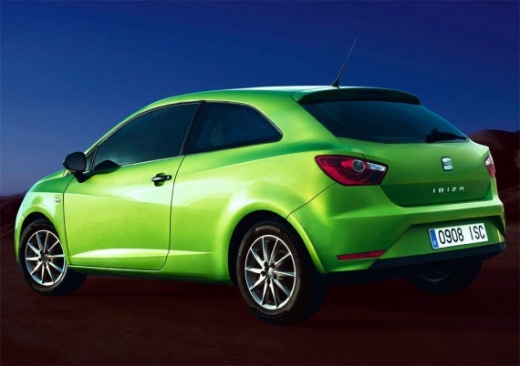
Diagram and Layout of the Internal Fuses for a Seat Ibiza
Model: Seat Ibiza
6J, 6P
- Years:
2008, 2009, 2010, 2011, 2012, 2013, 2014, 2015, 2016, 2017
Video tutorial
These brief and simple steps will illustrate the layout and diagram of the internal fuses for a Seat Ibiza, following the instructions below. First, get inside the vehicle and start by removing the plastic cover located at the bottom on the driver's side (under the steering wheel); this will allow access to the internal fuse box, as shown in the video. There is also another fuse box in the engine bay, which can be accessed by removing the plastic cover next to the battery; you will find the fuse layout and diagram in the vehicle's user and maintenance manual!
Updated on 15 October 2026 by ScegliAuto
Related tutorials
Seat Ibiza
(2008-2017 /
6J, 6P)
This video provides information regarding the fuses of the Seat Ibiza; these are shown on a specific diagram. The fuses of the Seat Ibiza are located…

Seat Ibiza
(2008-2017 /
6J, 6P)
Today's instructions will show you the location and diagram of the fuse boxes on the Seat Ibiza. First, open the bonnet of your car and start removin…

Seat Ibiza
(2002-2009 /
6L)
Today in this guide, we will discover the instructions that will allow us to locate the internal fuse box of the Seat Ibiza, in simple steps. First, …
Other guides you may be interested in
|
How to Remove the Rear Seat of a Hyundai Tucson?
To remove the rear seat of a Hyundai Tucson, follow these steps. Start by moving the front seats to their most forward position to gain space. Next, locate the release lever on the underside of the rear seat, near the floor. Press this lever down while pulling the seat upwards to unlock it from the anchor pins. Once unlocked, tilt the seat upwards and forwards to remove it from its position. Repeat this process for both sides of the rear seat. Be careful of any electrical cables or components that may be connected to the seat during removal. Once the rear seat is removed, the disassembly is complete. by ScegliAuto More videos
|
For advertising on this site Write to info@scegliauto.com
ScegliAuto is not responsible for any inaccuracy of the data in the lists. To report any inaccuracy or your business (if you own the business in question), please write to info@scegliauto.com
Number of seconds to generate the page: 0.162
(c) ScegliAuto 2026 - info@scegliauto.com - Privacy policy VAT number: IT01247470535 |
