
|
Do it yourself
| |||
| ||||


Instructions for Removing the Door Panel and Replacing the Window Regulator
Model: Skoda Octavia
1U, MK 1
- Years 1996-2004
Detach the window regulator lever and the reflector located at the bottom right; unscrew all the screws along the edge of the panel; remove the speaker cover and disassemble the speaker itself, then the triangular plastic cover near the external rearview mirror. Remove the surround around the internal opening lever and the handle grip cover to access the last screws securing the panel. At this point, pry along the edges to detach the panel. Remove the soundproofing cover to access the inside of the panel and disassemble the window regulator by first detaching the clips securing the glass. Proceed with replacing the mechanism itself and disassembling the lock to replace the internal opening cable. Reinstall everything in reverse order.
Updated on 9 February 2026 by ScegliAuto
Video tutorial
Related tutorials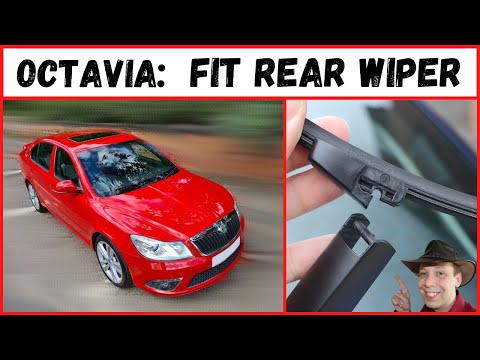
Skoda Octavia
(2004-2012 /
MK 2, 1Z)
In this video tutorial, you will find instructions for removing the window regulator and rear wiper on the second generation Skoda Octavia in simple …

Skoda Octavia
(1996-2004 /
1U, MK 1)
The replacement of the entire metal window regulator structure and its electric motor clearly involves the door being completely devoid of internal l…

Skoda Octavia
(2004-2012 /
MK 2, 1Z)
To repair the window regulator on the Skoda Octavia, bring the glass to half position if possible and turn off the ignition. Remove the door panel to…
Other guides you may be interested in
|
How to Open the Bonnet on the Lancia Y
To open the bonnet on this vehicle, follow these simple instructions: first, open the driver's door and locate the lever positioned just below the dashboard, marked with an image of the vehicle with the bonnet open. Pull this lever towards you until you hear a "click" indicating the bonnet is released. Next, exit the cabin and stand in front of the bonnet to disengage the safety catch and complete the opening. To do this, slightly lift the bonnet, locate the yellow lever underneath, and pull it to the left to fully release and open the bonnet. by ScegliAuto More videos
|
|
For advertising on this site Write to info@scegliauto.com
ScegliAuto is not responsible for any inaccuracy of the data in the lists. To report any inaccuracy or your business (if you own the business in question), please write to info@scegliauto.com
Number of seconds to generate the page: 0.474
(c) ScegliAuto 2026 - info@scegliauto.com - Privacy policy VAT number: IT01247470535 |
