
|
Do it yourself
| |||
| ||||


How to Replace the Cabin Fan Resistor on a Smart Fortwo
Model: Smart Smart
451
- Years 2007-2015
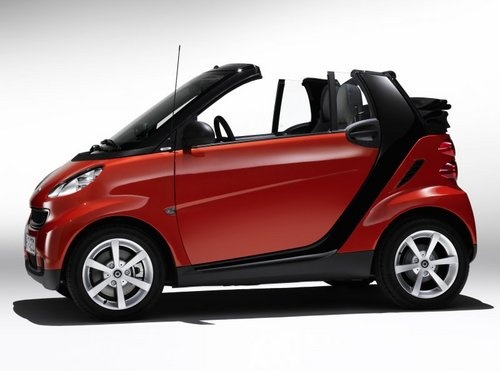
To replace the cabin fan resistor on a Smart Fortwo, open the glove compartment and remove the plastic covering located under the central tunnel on the left side; use a lever to detach the covering under the dashboard. Open the glove compartment and unscrew the securing screws around the perimeter with a screwdriver. Once this is done, pull out the glove compartment and disconnect the power cables. Remove the fan resistor from its housing; insert the new part into the filter holder and reassemble all components of the tunnel as they were disassembled earlier.
Updated on 12 March 2026 by ScegliAuto
Video tutorial
Related tutorials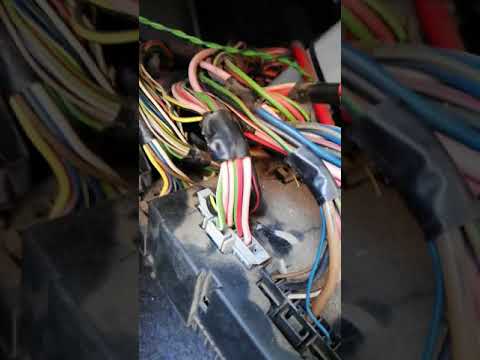
Smart
(1998-2007 /
450)
How to replace the fan resistor on a Smart Fortwo? Follow this guide for disassembly. Use a lever to remove the plastic under the dashboard, then uns…

Smart
(2007-2015 /
451)
In this guide, we will discover the main instructions that will allow us to dismantle and replace the cabin fan in a Smart Fortwo. First, open the fr…
Smart
(2007-2015 /
451)
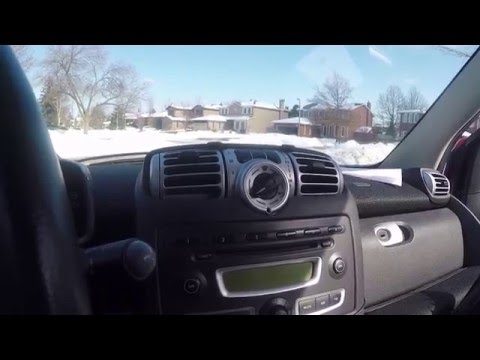
Is the air fan on your Smart Fortwo damaged? Not working? Here's how to remove it. Use a lever to remove the plastics under the dashboard on the stee…
Other guides you may be interested in
|
Frequently Asked QuestionsWhere is the Fuel Filter Located in a Volvo XC60?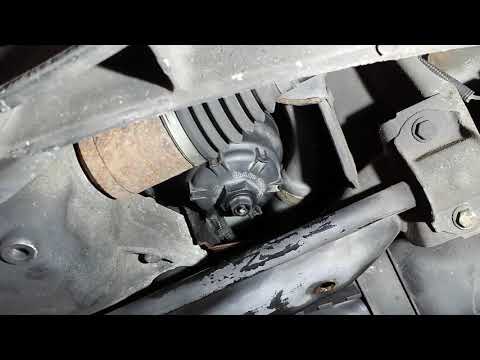
In this video, you will see where the fuel filter is located in a Volvo XC60 and how to proceed if you need to replace it. As shown, the filter is positioned at the lower part of the engine, right between the left half-shaft and the sway bar attachment. To replace the filter, first, go underneath the vehicle, taking all necessary safety precautions. Then, using an 18mm wrench, open the drain valve and allow any water present to escape. Next, unscrew the housing, remove the old filter, insert the replacement along with a new gasket, and reassemble everything. by ScegliAuto More videos
|
For advertising on this site Write to info@scegliauto.com
ScegliAuto is not responsible for any inaccuracy of the data in the lists. To report any inaccuracy or your business (if you own the business in question), please write to info@scegliauto.com
Number of seconds to generate the page: 0.340
(c) ScegliAuto 2026 - info@scegliauto.com - Privacy policy VAT number: IT01247470535 |
