
|
Do it yourself
| |||
| ||||


Smart Smart - Interior blower Smart (2007-2015 / 451)
How do you replace the cabin fan in the Smart car? The procedure for replacing the cabin fan on the Smart car involves completely removing the panel located on the lower part of the dashboard, on the passenger …read all… Posted on 12 February 2024 by ScegliAuto 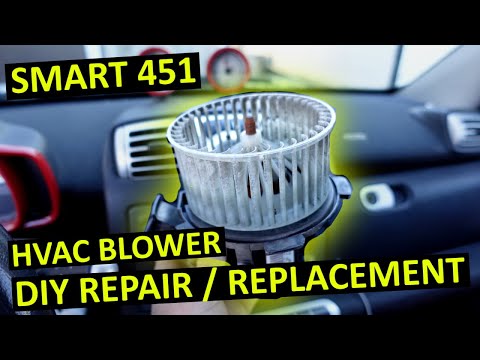 Smart (2007-2015 / 451)
How do you replace the cabin fan in the Smart car? In order to replace the cabin fan of the Smart car, you need to completely remove the panel located in the lower part of the dashboard, on the passenger side. …read all… Posted on 22 January 2024 by ScegliAuto  Smart (2014-2022 / 453)
Removing the air fan on Smart Fortwo Hello! Today we will explain a maintenance that many believe to be difficult but which actually takes very little time. On this car model, the air vent is …read all… Posted on 25 March 2024 by ScegliAuto 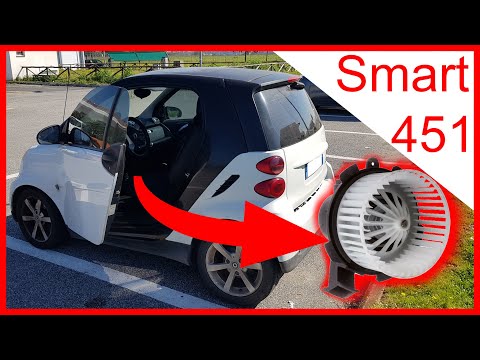 Smart (2014-2022 / 453)
How to solve the problem of a passenger compartment fan that does not start in a Smart? It may happen that the passenger compartment fan does not work and therefore does not start. Let's see what to do and how to replace or clean it in a Smart. …read all… Posted on 30 January 2024 by ScegliAuto  Smart (2007-2015 / 451)
Disassembly of the Smart Fortwo air fan Is the air fan mounted on the Smart Fortwo damaged? It does not work? Let's see how to take it apart. We remove with a lever, the plastics placed under the …read all… Posted on 2 December 2023 by ScegliAuto 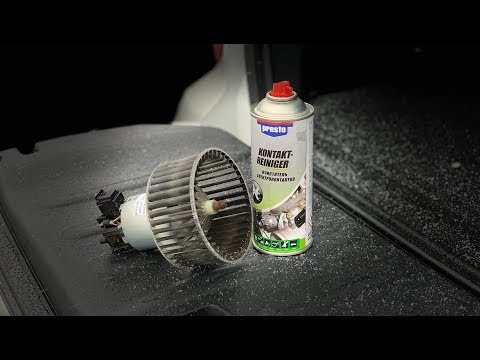 Smart (2007-2015 / 451)
How to replace the interior fan resistor on a Smart Fortwo How to replace the interior fan resistor on a Smart Fortwo. We open the door and remove the plastic covering placed under the central tunnel on the left side; …read all… Posted on 20 November 2023 by ScegliAuto 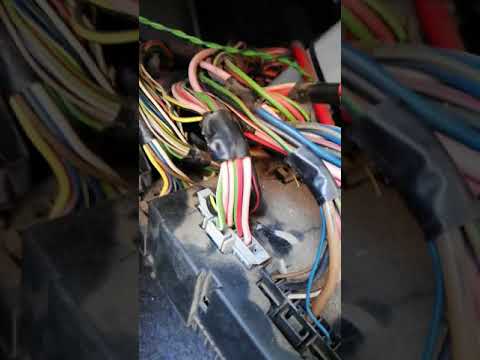 Smart (1998-2007 / 450)
How to replace the fan resistor on Smart Fortwo How to replace the fan resistor on Smart Fortwo? Let's see in this video how to do the disassembly. Remove with a lever the plastic placed under the dashboard, …read all… Posted on 16 November 2023 by ScegliAuto Airbags (10) Alternator (11) Loudspeaker (15) Shock absorbers (11) Antenna (2) Air conditioning (3) Car stereo (39) Battery (32) Air Vents (2) Arm (2) Gearbox (17) Spark plugs (25) Glow plugs (2) Soft top (19) Bodywork (19) Glove box (1) Control unit (4) Key (32) Timing belt (3) V-belt (2) Air conditioning (1) Air conditioning controls (2) -board computer (31) Checks and maintenance (175) Throttle body (2) Dashboard (14) Gearshift gaiter (1) Bearing (4) Brake discs (1) Headlight (14) Tail light (8) Fog lights (4) Air filter (19) Cabin air filter (21) Petrol filter (3) Diesel filter (6) Oil filter (2) Clutch (14) Grille (2) Injectors (1) Window lift switch (3) Accessory Kit (2) Light bulb (8) Side turn signal light bulb (2) Headlight bulb (37) Rear light bulb (24) Interior lights ceiling light bulb (8) Antifreeze liquid (4) Dashboard light (5) License plate light (8) Third brake light (3) Rear window (1) Handle (16) Muffler (3) Mask (1) Engine (4) Window motor (1) Starter motor (12) Gear oil (8) Engine oil (23) Door panel (39) Windshield (3) Front bumper (17) Rear bumper (17) Brake pads (8) Hydraulic pistons (3) Tires (1) Gear Shift Knob (10) Pump (2) Fuel pump (2) Door (9) Window lift button (4) Instrument cluster (44) Radiator (2) Passenger compartment heating radiator (2) Wheel (5) Fuse box (55) Seat (9) Crankshaft RPM sensor (3) Coolant temperature sensor (1) Lock (4) Brake system (1) Lambda sensor (3) Suspensions (2) Outside rearview mirror (10) Interior rearview mirror (1) Engine mount (5) Drums and shoes (2) Windscreen wipers (13) Thermostat (4) Engine head (2) Transmission (1) Central tunnel (1) Turbine (4) EGR valve (2) Interior blower (7) Side window (2) Steering wheel (11) |
Handbrake adjustment on Ford Ecosport
First remove the plastic profile at the base of the gear lever. To do this, slightly widen the side edges and carefully lift it to release it. There is no need to remove it completely, just move it forward to avoid bother. Now remove the plastic center console around the handbrake by first working from the rear to release it and lifting it until the brake lever passes. Also in this case it is not necessary to remove it completely but, paying attention to the connected cables, it can be stowed in front of the passenger seat. At this point we notice that at the base of the handbrake lever, on the front, we find a nut. By acting on it, with a 10 wrench, we can adjust the brake force, increasing it by turning the nut clockwise, or decreasing it by turning it counterclockwise. Once adjusted, the center console can be repositioned first, pressing lightly to engage it, and then the profile of the gearbox base. by ScegliAuto More videos
|
|
For advertising on this site Write to info@scegliauto.com
ScegliAuto is not responsible for any inaccuracy of the data in the lists. To report any inaccuracy or your business (if you own the business in question), please write to info@scegliauto.com
Number of seconds to generate the page: 0.011
(c) ScegliAuto 2024 - info@scegliauto.com - Privacy Policy VAT number: IT01247470535 |