
|
Do it yourself
| |||
| ||||


How to replace the rear brake light bulb on a Smart
Model: Smart Smart
451
- Years 2007-2015
Before starting, we will have to open the tailgate of our Smart. Let's start by disengaging and removing the internal side cover of the luggage compartment. Next, we will have to unclip the clips that secure the bulb holder to the rear light, and we will have freed the bulb holder itself. We then proceed by extracting the bulb holder, and we will have reached the stop bulb. At this point, we will have to disengage and remove the stop bulb, and we will have finished the disassembly. To fit the new brake light bulb, we will have to follow these instructions in reverse, and the replacement will be finished.
Posted on 11 May 2021 by ScegliAuto
Video tutorial
Related tutorials
Smart
(2007-2015 /
451)
Today we will discover the instructions that will allow us to disassemble and replace the third brake light bulb of the Smart Fortwo in simple steps.…
Smart
(2004-2006 /
Fourfour1, 454)
Open the rear door of the boot and remove the O-ring (in the area of the light) placed on the body of the same boot. Unscrew the torx t20 that fix th…

Smart
(1998-2007 /
450)
All the steps required to dismantle the hood on the cabrio version of the Smart and to remove the rear spoiler with the incorporated third brake ligh…
Other guides you may be interested in
|
How to Remove the Front Headlight of a Mercedes S-Class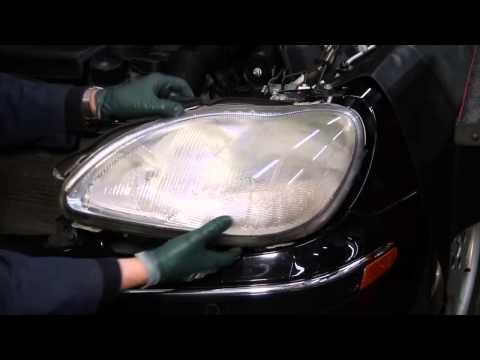
Want to remove the front headlight of a Mercedes S-Class? Let’s see how to proceed with the disassembly in the instructional video. Open the hood by pulling the hood release lever and secure it. Remove the retaining pins on the headlight bar using a socket wrench or battery-powered screwdriver. At this point, you will find additional pins on the lower side of the headlight; unscrew them from the metal brackets. Disconnect the bulb holders from the headlight and remove the headlight from the vehicle body. Install the new headlight with new bulbs if damaged (always use the correct type and size) and insert the headlight into its housing. Finally, tighten the pins on the headlight and test the proper functioning of the lights. by ScegliAuto More videos
|

|
For advertising on this site Write to info@scegliauto.com
ScegliAuto is not responsible for any inaccuracy of the data in the lists. To report any inaccuracy or your business (if you own the business in question), please write to info@scegliauto.com
Number of seconds to generate the page: 0.057
(c) ScegliAuto 2026 - info@scegliauto.com - Privacy policy VAT number: IT01247470535 |