
|
Do it yourself
| |||
| ||||


Replace low beam lights on Smart Fortwo
Model: Smart Smart
451
- Years 2007-2015
Do we want to remove the damaged bulbs of the Smart Fortwo? To begin we remove the front hood of the Smart and find the rear cover of the headlights. We remove the protective cover from behind the headlight in order to get to the bulbs that we are going to replace. We remove the bulbs from inside the lighthouse and then from the lamp holder (where the electric cable is connected). Once we have removed all the damaged bulbs from inside the headlights we just have to replace them with new ones. We check the operation of the headlight bulbs, then mount the front hood panel.
Posted on 31 July 2021 by ScegliAuto
Video tutorial
Related tutorials
Smart
(1998-2007 /
450)
In the Smart Fortwo 450, the first series, there are two fuse boxes, one located under the dashboard on the driver's side and the other under the sea…

Smart
(2007-2015 /
451)
In this video we are going to see how to go to replace the license plate lights of the Smart Fortwo. First we go to extract the plate of our light: t…

Smart
(2014-2022 /
453)
Below we will see the instructions that will allow us to disassemble and replace the license plate lights of the Smart Fortwo. First of all, let's mo…
Other guides you may be interested in
|
How to Replace the Timing Belt on a Volkswagen Golf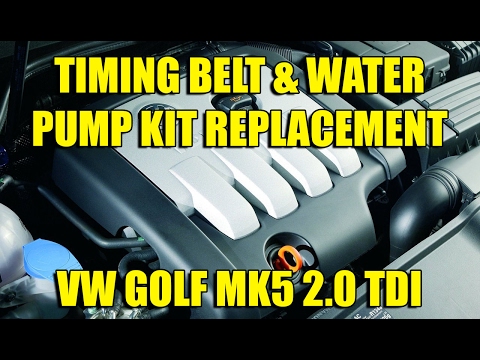
To perform this simple operation, first lift the bonnet. Then, remove the upper engine cover and the plastic side cover that protects the timing belt. To create more space for the job, you can remove components next to the engine, such as the coolant reservoir, the windscreen washer pipe, and the fuel filter. This will allow you to remove the lower engine cover and the right wheel for better access to the area where you will be working. Now, relieve the tension from the tensioner pulley and remove the belt for replacement. by ScegliAuto More videos
|

|
For advertising on this site Write to info@scegliauto.com
ScegliAuto is not responsible for any inaccuracy of the data in the lists. To report any inaccuracy or your business (if you own the business in question), please write to info@scegliauto.com
Number of seconds to generate the page: 0.088
(c) ScegliAuto 2026 - info@scegliauto.com - Privacy policy VAT number: IT01247470535 |