
|
Do it yourself
| |||
| ||||


How to Reset the TPMS on a Subaru Forester
Model: Subaru Forester
MK 4, SJ
- Years 2012-2019
On the Subaru Forester, the TPMS light only turns off when the pressures are correct and the system 'sees' consistent values. First, inflate the tyres to the pressure indicated on the vehicle's label (usually on the driver's side door pillar) when the tyres are cold, also checking the wheel that is often forgotten, which is the rear opposite side. If you have just changed tyres or wheels, ensure that the fitted set has compatible TPMS sensors. After inflating, turn on the ignition and perform any necessary initialisation. On some versions, there is a dedicated button (SET/TPMS) in the cabin: in that case, hold the button down with the ignition on until confirmation (typically a flashing light or a change of state), then release it. If your Forester does not have a reset button, the most common behaviour is that the light will turn off after a short drive with correct pressures, without needing to enter a menu. Complete with a brief drive at a constant speed and check again. If the light remains on, recheck the pressures and ensure there are no significant differences between the wheels.
Posted on 22 July 2026 by ScegliAuto
This video is currently unavailable
Related tutorials
Subaru Forester
(2018-2025 /
MK 5, SK)
Today we will see the instructions that will allow us to check the tire pressures, thus resetting the TPMS warning on the Subaru Forester; it is nece…

Subaru Forester
(2012-2019 /
MK 4, SJ)
In the following guide, you will find the description of the steps you need to take to correctly complete the TPMS warning light reset procedure on t…
Subaru Forester
(2012-2019 /
MK 4, SJ)
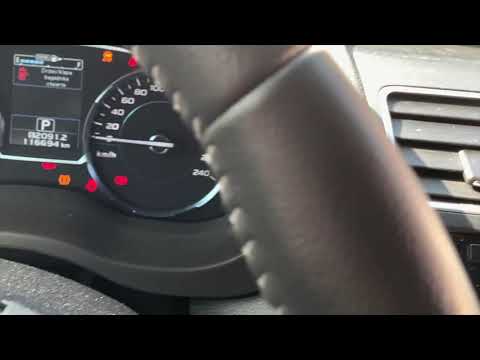
This brief video tutorial shows how to reset the TPMS (Tyre Pressure Monitoring System) light on a fourth-generation Subaru Forester, model years 201…
Other guides you may be interested in
|
How to Replace the Battery on a Honda Vision 110
To replace the battery on a Honda Vision 110, you need to remove the front fairing of the motorcycle, located directly under the front headlamp. To loosen this panel, unscrew the two screws found at its top, just below the handlebar. Once these screws are loosened, lever under the panel to detach it, gaining access to the battery underneath: this battery must be removed from its housing by unscrewing the fixing screws and disconnecting the power cables, replacing it with a new one. by ScegliAuto More videos
|

|
For advertising on this site Write to info@scegliauto.com
ScegliAuto is not responsible for any inaccuracy of the data in the lists. To report any inaccuracy or your business (if you own the business in question), please write to info@scegliauto.com
Number of seconds to generate the page: 0.055
(c) ScegliAuto 2026 - info@scegliauto.com - Privacy policy VAT number: IT01247470535 |
