
|
Do it yourself
| |||
| ||||



How to Make a DIY Skid Plate for a Subaru Forester
Model: Subaru Forester
MK 4, SJ
- Years:
2012, 2013, 2014, 2015, 2016, 2017, 2018, 2019
Video tutorial
To make a skid plate for the oil sump of a Subaru Forester using parts taken from another vehicle: specifically, the skid plate from a Jeep Wrangler owned by the YouTuber. The part had exactly the same angle needed, so it was reused. To ensure a proper fit, a cardboard template was made with the same measurements to check alignment. Naturally, brackets had to be created to ensure the piece matched the holes present on it and those on the vehicle's body. An adapter bar was necessary to be made and placed at the front of the vehicle, to then weld the recovered piece from the Jeep and bolt it to the body.
Updated on 18 June 2026 by ScegliAuto
Related tutorials
Subaru Forester
(2018-2025 /
MK 5, SK)
In this mini guide dedicated to your Subaru Forester fifth generation (2019-2023), we will discover how to correctly and independently replace the ca…
Subaru Forester
(2008-2011 /
MK 3, SH)
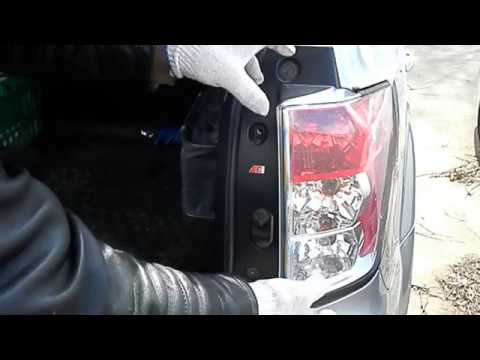
Today's guide will show you how to remove and replace the rear light of the Subaru Forester, following the instructions below. First, move to the rea…
Subaru Forester
(2012-2019 /
MK 4, SJ)
In this video, you will see a small Class E detail modification on the Subaru Forester, which generally applies to all Subaru models, ensuring that y…
Other guides you may be interested in |
How to Reset the Tire Pressure Light on a MG ZS?
On the instrument cluster of the MG ZS, the tire pressure light that appears can be reset by inflating the tires to the correct pressure: this value will be indicated on the sticker attached to the driver's door pillar. Once the tires have been properly inflated, you can turn on the instrument cluster and navigate through the menu until you find the option that indicates tire pressure: if this screen shows the new values, the light will turn off; otherwise, you will need to drive for a few miles so that the sensors can read the new values and turn off the light afterward. by ScegliAuto More videos
|
|
For advertising on this site Write to info@scegliauto.com
ScegliAuto is not responsible for any inaccuracy of the data in the lists. To report any inaccuracy or your business (if you own the business in question), please write to info@scegliauto.com
Number of seconds to generate the page: 0.039
(c) ScegliAuto 2026 - info@scegliauto.com - Privacy policy VAT number: IT01247470535 |
