
|
Do it yourself
| |||
| ||||


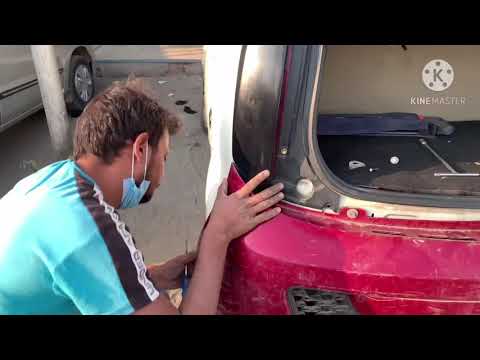
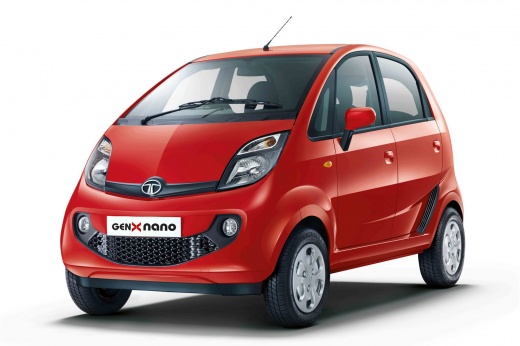
How do you replace the armrest of the Tata Nano GenX?
Model: Tata Nano Genx
MK 1
- Years 2015-2018
In order to replace the armrest of the Tata Nano GenX you have to extract the old armrest from its housing in the upper part of the central tunnel. Once this has been removed, it will be necessary to unscrew the supports that fix it to its housing in the lower part: by removing the old supports it will be possible to mount the new ones, fixing them with the corresponding screws. Once the new supports have been fixed, it will be possible to insert the armrest in the central tunnel, checking that it does not create problems for the use of the other components.
Posted on 14 April 2022 by ScegliAuto
Video tutorial
Related tutorials
Tata Nano Genx
(2015-2018 /
MK 1)
In this short and simple guide we will see the steps on how to disassemble and replace the headlight bulb of the Tata Nano Genx. First of all we open…
Tata Nano Genx
(2015-2018 /
MK 1)
Let's see today, in this short guide, the main instructions on how to disassemble and replace the rear bumper of the Tata Nano Genx, in simple steps.…
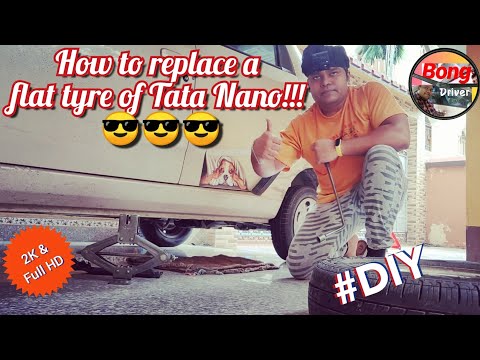
Tata Nano Genx
(2015-2018 /
MK 1)
Let's see in this guide the main instructions that will allow us to remove and replace the wheel with the spare one of the Tata Nano Genx. First of a…
Other guides you may be interested in |
How to Remove the Brake Disc on Mitsubishi Pajero
How to remove the brake disc along with the brake pads on a Mitsubishi Pajero? First, lift the vehicle on a column lift to a suitable height for working. Next, remove the wheel (using a telescopic spanner or air drill) with the respective bolts. Undo the locking bolt of the brake caliper, and remove it from the caliper support. Remove the caliper support from the wheel hub using a socket spanner. Once the brake disc is free, undo the screws with a fixed spanner and detach the disc from the wheel hub. Disconnect the various wiring and brake fluid pipes from the wheel assembly. Replace them with new parts (always use original and compliant parts). Prepare to install the new disc along with the respective pads, brake caliper, caliper support, etc. by ScegliAuto More videos
|
|
For advertising on this site Write to info@scegliauto.com
ScegliAuto is not responsible for any inaccuracy of the data in the lists. To report any inaccuracy or your business (if you own the business in question), please write to info@scegliauto.com
Number of seconds to generate the page: 0.048
(c) ScegliAuto 2026 - info@scegliauto.com - Privacy policy VAT number: IT01247470535 |