
|
Do it yourself
| |||
| ||||


Toyota Prius - V-beltV-belt Toyota Prius (2009-2015 / xw 30, mk 2) Toyota Prius (2004-2009 / MK 1)
How to Replace the Serpentine Belt on the Toyota Prius This guide provides the main instructions for removing and replacing the serpentine belt on the Toyota Prius. First, open the bonnet of the vehicle and start …Read all… Posted on 5 September 2026 by ScegliAuto  Toyota Prius (2009-2015 / Xw30, MK 2)
Replacing the Poly V Belt on a Toyota Prius Open the bonnet and prop it up with the support rod. Unscrew the clamp and the 10 mm bolts that secure the air filter intake pipe. Once the duct is detached, …Read all… Posted on 4 May 2026 by ScegliAuto 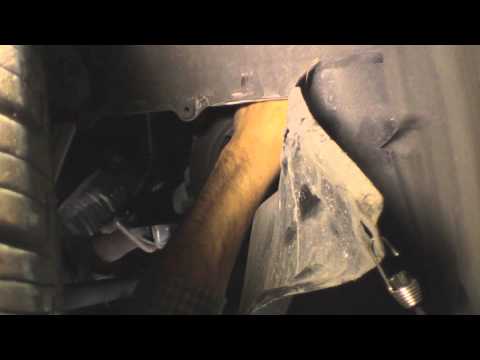 Toyota Prius (2004-2009 / MK 1)
Replacement of the V-belt To facilitate the removal of the V-belt, remove the intake duct. Then loosen the tensioner adjustment bolt using a socket spanner. Lift the vehicle on a …Read all… Posted on 8 February 2026 by ScegliAuto V-belt Toyota Prius (2004-2009 / mk 1)
Toyota Prius (2004-2009 / MK 1)How to Replace the Serpentine Belt on the Toyota Prius This guide provides the main instructions for removing and replacing the serpentine belt on the Toyota Prius. First, open the bonnet of the vehicle and start …Read all… Posted on 5 September 2026 by ScegliAuto
Toyota Prius (2009-2015 / Xw30, MK 2)Replacing the Poly V Belt on a Toyota Prius Open the bonnet and prop it up with the support rod. Unscrew the clamp and the 10 mm bolts that secure the air filter intake pipe. Once the duct is detached, …Read all… Posted on 4 May 2026 by ScegliAuto
Toyota Prius (2004-2009 / MK 1)Replacement of the V-belt To facilitate the removal of the V-belt, remove the intake duct. Then loosen the tensioner adjustment bolt using a socket spanner. Lift the vehicle on a …Read all… Posted on 8 February 2026 by ScegliAuto Shocks (1) Antenna (4) Air conditioning (1) Battery (29) Spark plugs (4) Key (37) Timing belt (1) V-belt (3) Onboard computer (1) Checks and maintenance (17) Dashboard (2) Brake rotors (1) Rear bench seat (5) Side marker light (1) Headlight (6) Tail light (2) Fog lights (2) Air filter (6) Cabin air filter (12) Fuel filter (2) Accessory kit (3) Light bulb (2) Headlight bulb (8) Tail light bulb (5) Interior dome light bulb (1) Antifreeze coolant (1) License plate light (3) (1) Handle (1) Transmission fluid (1) Engine oil (6) Clock (20) Door trim panel (2) Front bumper (3) Rear bumper (2) Brake pads (4) Hydraulic pistons (1) Fuel pump (1) Power window switch (2) Instrument cluster (1) Fuse box (19) Seat (4) Side mirror (1) Warning light – error code (8) (26) Tire pressure warning light (20) Service warning light (37) Fuel cap (5) Windshield wipers (3) Center console tunnel (2) Windshield washer nozzle (1) Side window (1) |
How to Connect the Cables to the Battery of the Citroen Xsara Picasso?
In this tutorial, you will see how to connect the cables to the battery of the Citroen Xsara Picasso, useful if you need to recharge it or perform an emergency start. First, ensure the key is not inserted, then open the bonnet and move to the front of the left headlamp. Next, locate the bolt just behind the filter box and connect the positive terminal clamp to it. Now you can connect the negative terminal to any point on the chassis, such as the indicated point. Once the operation is complete, ensure you disconnect the negative first and then the positive. by ScegliAuto More videos
|
|
For advertising on this site Write to info@scegliauto.com
ScegliAuto is not responsible for any inaccuracy of the data in the lists. To report any inaccuracy or your business (if you own the business in question), please write to info@scegliauto.com
Number of seconds to generate the page: 0.010
(c) ScegliAuto 2026 - info@scegliauto.com - Privacy policy VAT number: IT01247470535 |
