
|
Do it yourself
| |||
| ||||


How to Change the Front Brake Pads on a Toyota Aygo
Model: Toyota Aygo
MK 1, Ab10
- Years 2005-2014
Here’s how to change the front brake pads on the Toyota Aygo: open the brake fluid reservoir; this will help the pistons retract into the caliper. With the car on the ground, loosen the wheel nuts, then lift the front of the car and support it on two axle stands. Remove the wheels, then retract the piston by inserting a flat screwdriver into the gap of the caliper, between the disc and the old pad. Leverage to push the piston back, then using a socket wrench, unscrew the two bolts of the bracket that secure the caliper to its support. Lift the caliper and hang it on a part of the car to avoid straining the brake line. Remove the old pads, clean the support with a wire brush; apply a thin layer of copper grease to the back of the pads and on the sliding tabs, and place them in their support, refit the caliper, tighten the bracket bolts - use new bolts - then reassemble the wheel and lower the car to the ground. Tighten the nuts and close the brake fluid reservoir cap. Press the brake pedal several times until you feel solid resistance. Remember to avoid harsh and intense braking for about fifty miles.
Posted on 22 April 2026 by ScegliAuto
Video tutorial
Related tutorials
Toyota Aygo
(2005-2014 /
MK 1, Ab10)
Today, we will see in this guide how to remove and replace the front brake pads on a Toyota Aygo by following these simple steps. First, lift the veh…
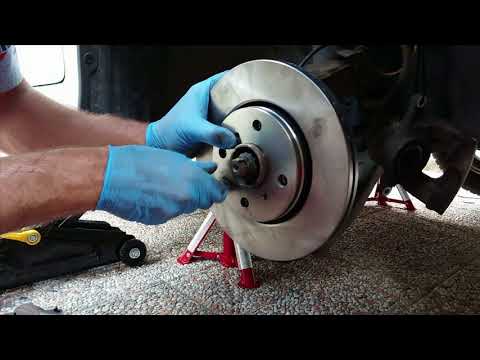
Toyota Aygo
(2005-2014 /
MK 1, Ab10)
Loosen the wheel bolts on the wheel you will be working on, lift the car, and remove the wheel. Use a crowbar to separate the brake pads. With a wire…
Toyota Aygo
(2005-2014 /
MK 1, Ab10)
Replacing the brake pads is a maintenance task that can easily be done DIY; before lifting the vehicle, loosen the wheel fastening bolts to complete …
Other guides you may be interested in
|
How to Repair the Key Spring of the Peugeot 207?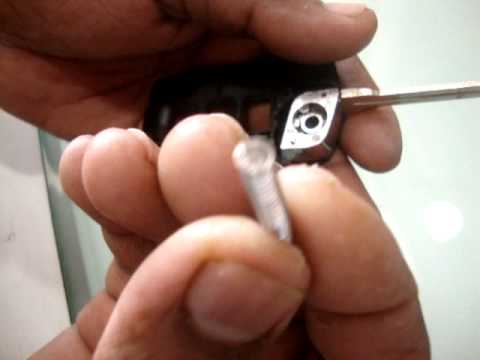
Over time, frequent use of the key's flip mechanism in the vehicle, dozens of times a day, inevitably leads to wear of the internal spring. As shown in this video, replacing the spring is quite simple and takes little time. After opening the casing halfway, first position the key, then the spring housing, and finally insert the spring into the previously mentioned housing. Close the casing by rotating it clockwise, ensuring all components fit perfectly, and test the key's flip mechanism. by ScegliAuto More videos
|

|
For advertising on this site Write to info@scegliauto.com
ScegliAuto is not responsible for any inaccuracy of the data in the lists. To report any inaccuracy or your business (if you own the business in question), please write to info@scegliauto.com
Number of seconds to generate the page: 0.068
(c) ScegliAuto 2026 - info@scegliauto.com - Privacy policy VAT number: IT01247470535 |
