
|
Do it yourself
| |||
| ||||


How to replace the front brake discs on a Toyota Aygo1
Model: Toyota Aygo
MK 1, Ab10
- Years 2005-2014
In this video we see how to replace the brake discs on a Toyota Aygo 1: we open the hood and unscrew the cap of the brake fluid reservoir, lift the front of the car and remove the wheels, then separate the brake pads; clean the caliper mounting elements with a metal brush and WD-40; then unscrew the brake caliper, which we will tie to the shock absorber, in order to prevent the flexible hose from bending and the system from depressurizing. We then remove the brake pads, clean the calipers well with the metal brush and WD-40, unscrew the lower part of the caliper and the bracket, and with a screwdriver we unscrew the brake attachment, clean the hub treating it with copper grease and mount the new disc, tightening it to 9 Nm. We put back the caliper support tightening it to 65 Nm, then we put back the pads, then we press the piston and reassemble the caliper, which we tighten to 35 Nm. Clean the disc surface with a specific cleaner, and copper grease, then reassemble the wheel and lower the car.
Posted on 5 April 2025 by ScegliAuto
Video tutorial
Related tutorials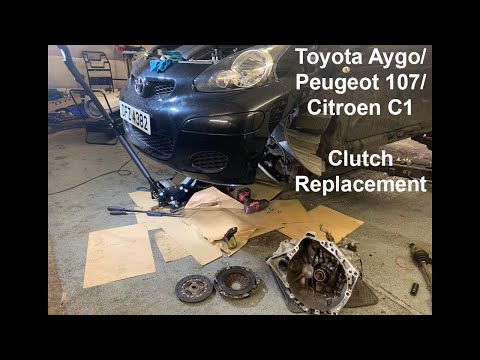
Toyota Aygo
(2005-2014 /
MK 1, Ab10)
This guide outlines the main steps to dismantle and replace the clutch discs of the Toyota Aygo in simple and quick steps. First, lift the vehicle an…
Toyota Aygo
(2005-2014 /
MK 1, Ab10)
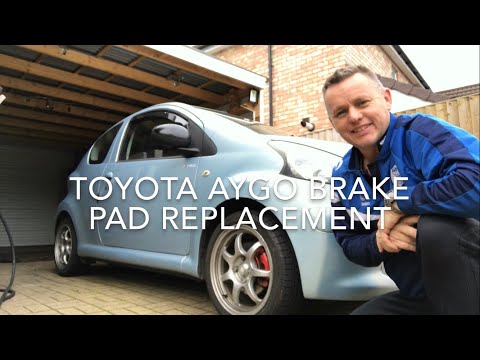
Today, we will see in this guide how to remove and replace the front brake pads on a Toyota Aygo by following these simple steps. First, lift the veh…

Toyota Aygo
(2005-2014 /
MK 1, Ab10)
Here’s how to change the front brake pads on the Toyota Aygo: open the brake fluid reservoir; this will help the pistons retract into the caliper. Wi…
Other guides you may be interested in
|
How to Reset the Tyre Pressure Light on the Opel Grandland X
While driving, if you notice the tyre pressure warning light coming on, first check the actual inflation pressure of the tyres and, if necessary, restore the pressures recommended by the manufacturer. After restoring the correct pressures, you need to reset the warning light that has illuminated on the instrument cluster. To do this, locate the reset button on the lower central console. Press this button and hold it down for at least 3 seconds, after which the low pressure indication will turn off. by ScegliAuto More videos
|

|
For advertising on this site Write to info@scegliauto.com
ScegliAuto is not responsible for any inaccuracy of the data in the lists. To report any inaccuracy or your business (if you own the business in question), please write to info@scegliauto.com
Number of seconds to generate the page: 0.073
(c) ScegliAuto 2026 - info@scegliauto.com - Privacy policy VAT number: IT01247470535 |
