
|
Do it yourself
| |||
| ||||


How to Reset the Service Light on a 2014 Toyota Rav4
Model: Toyota Rav 4
MK 4, Xa40
- Years 2013-2018
To reset the service light on a 2014 Toyota Rav4, follow this procedure: first, turn on the vehicle's ignition without starting the engine. Then, press the display button located on the right side of the steering wheel until 'Trip A' appears on the display. Once set to Trip A, turn off the ignition. After turning off the ignition, press and hold the display button while turning the ignition back on. Keep holding the display button until the vehicle's mileage appears on the display and the beeping stops. At this point, the reset is complete and the light has turned off.
Updated on 9 June 2026 by ScegliAuto
Video tutorial
Related tutorials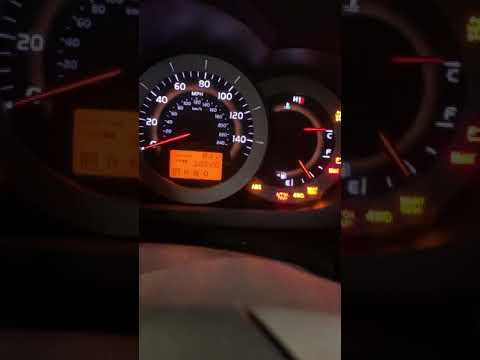
Toyota Rav 4
(2006-2013 /
MK 3, Xa30)
This video shows how to reset the maintenance light on your 2007 Toyota RAV4. To reset the light, first start the instrument panel and make sure it i…

Toyota Rav 4
(2019-2026 /
Xa50, MK 5)
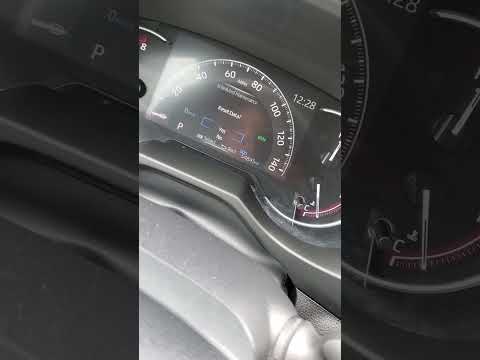
On the instrument panel of the Toyota RAV 4, the Service light that appears can be reset by turning on the instrument panel and navigating through th…
Toyota Rav 4
(2019-2026 /
Xa50, MK 5)
If you want to know how to manually reset the oil light of your new 2023 Toyota RAV4, follow these steps. First, turn on the ignition and press the m…
Other guides you may be interested in
|
Frequently Asked QuestionsHow to Remove the Front Bumper of the Citroën C4 Picasso?
To remove the front bumper of the Citroën C4 Picasso, you need to take out all the rivets and screws that secure the piece to its housing: these screws are located inside the wheel arches of the front wheels and at the central upper part of the bumper itself. Once all these fastening elements have been removed, you can detach the bumper from its seat by disconnecting the connectors inside and then insert the new replacement part. The new part can then be secured and connected properly, ensuring it is correctly fixed in place. by ScegliAuto More videos
|
|
For advertising on this site Write to info@scegliauto.com
ScegliAuto is not responsible for any inaccuracy of the data in the lists. To report any inaccuracy or your business (if you own the business in question), please write to info@scegliauto.com
Number of seconds to generate the page: 0.079
(c) ScegliAuto 2026 - info@scegliauto.com - Privacy policy VAT number: IT01247470535 |
