
|
Do it yourself
| |||
| ||||


Toyota Yaris fuel pump replacement
Model: Toyota Yaris
Xp90
- Years 2005-2011 In order to access the fuel pump, the rear seat must be folded down and the mat on the floor raised. Remove the adhesive tape securing the cables and use a screwdriver to pry up the pump cover plate. Before touching the electrical contacts, disconnect the negative battery terminal. Disconnect the fuel supply clamp, remove the block from the side of the fuel supply pipe and lift to release the fuel pipe. Finally, remove the fuel vapor recovery pipe. At this point, using the screwdriver, remove the pump fixing screws and proceed to lift the pump, taking care not to damage the filter. To reassemble the pump, carry out all the steps described above in reverse order and finally reconnect the negative terminal of the battery.
Posted on 26 July 2024 by ScegliAuto
 How do you replace the fuel pump of the Toyota Yaris?
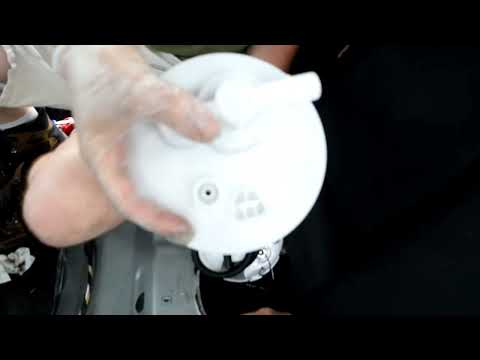
Toyota Yaris (2005-2011 / Xp90) In order to replace the fuel pump of the Toyota Yaris, you need to remove the rear seat of the car so that you can access the underlying components.  Toyota Yaris fuel pump disassembly
Toyota Yaris (2005-2011 / Xp90) In today's video tutorial we will see the steps that will allow us to disassemble and replace the fuel pump or float on the Toyota Yaris. First of al 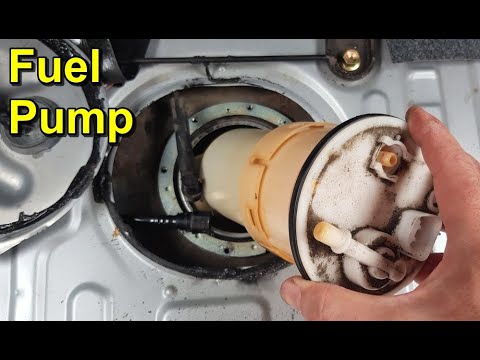 Toyota Yaris 1.0 Petrol fuel pump disassembly
Toyota Yaris (1999-2005 / Xp10) Today we will see how to remove and replace the fuel pump of a Toyota Yaris first series 1.0 Petrol. First we go to recline the front seats and the r Other guides that may interest you
|
Frequently Asked QuestionsHow to deactivate the safe lock on a Volkswagen Golf.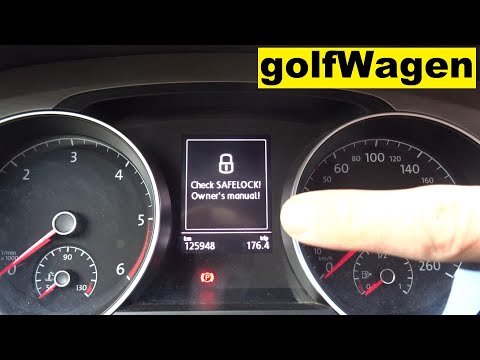
The safe lock is indeed an anti-theft system that prevents thieves from accessing the car. This device locks the doors, both externally and internally, when the driver activates the central locking remote control after leaving the vehicle. To permanently disable it, it is necessary to use a diagnostic program such as VCDS that we will connect to the vehicle through the ODBII port. Then wait for the connection and recognition of the control unit and then select the blocks present and locate the safe lock to disable it. And the job will be completed. by ScegliAuto More videos
|
|
For advertising on this site Write to info@scegliauto.com
ScegliAuto is not responsible for any inaccuracy of the data in the lists. To report any inaccuracy or your business (if you own the business in question), please write to info@scegliauto.com
Number of seconds to generate the page: 0.075
(c) ScegliAuto 2024 - info@scegliauto.com - Privacy Policy VAT number: IT01247470535 |